Managing Wii and GameCube Backups
This guide provides instructions on how to manage your Wii and GameCube backups with TinyWiiBackupManager, in addition to joining PART files when dumping Wii games from a FAT32 device. Important notes about game management on the Wii are listed below.
TIP
For storing multiple games, we recommend an external hard drive for your Wii. Most of those found on the market should work fine.
WARNING
A flash drive is NOT recommended for usage on the Wii. Reasoning behind this is explained in the storage FAQ.
As an alternative, you may use an SD card, however limitations of the Wii's SD card slot will result in slow read/write speeds. It is generally recommended that you use a USB hard drive or SSD instead.
DANGER
Make sure your device is formatted using FAT32. Do not format it using other file systems such as exFAT, extFS, or WBFS.
You may format it as NTFS, but it will NOT work with the majority of apps (e.g. The Homebrew Channel or Nintendont).
Joining PART files from a Wii disc on a FAT32 device
If you dumped a Wii disc onto a FAT32 formatted device, you should have gotten at least two files that end with .partX.iso, due to filesystem limitations. They need to be joined (on a supported filesystem like NTFS) so the file can be read correctly.
Instructions
Windows
Copy the files that share the same name and end with
.partX.isointo an empty folder on your computer.
In this folder, click the address bar in Windows Explorer and type in
cmd, this will open a command prompt window there.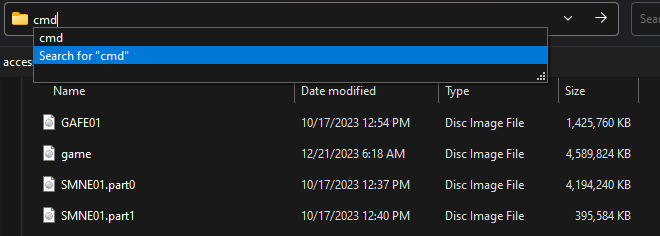
Type
copy /b *.part?.iso game.isoand press enter. Wait for the command to finish, your terminal output should be similar to the below.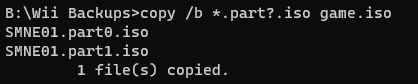
If the copy process executed correctly, the checksum from the game dump info file (located where you dumped your disc at) should match the resulting joined file.

macOS/Linux
Copy the files that share the same name and end with
.partX.isointo an empty folder on your computer.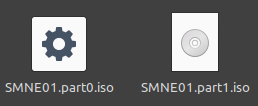
Open a terminal in the folder where your files are located, or
cd [PATH]to it.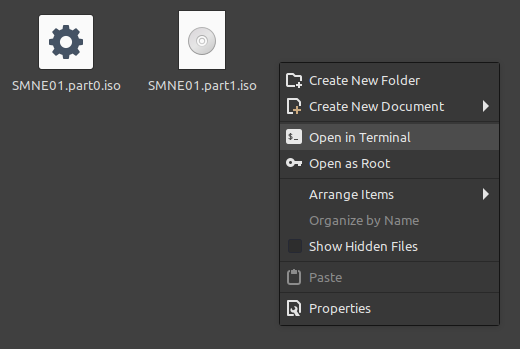
Use the following command as is:
cat `ls *.part?.iso | sort` > game.iso. Then, wait for the merging process to finish. Like in Windows, the resulting checksum should match the dump.
Using TinyWiiBackupManager
TinyWiiBackupManager is a new, lightweight game backup manager programmed in Rust that replaces the previously recommended apps in this guide, WiiBackupManager and WiiBackupFusion. Instructions to use this app are sorted by tab for each platform that TWBM can be installed on.
Using TWBM on Windows
Requirements
- A PC running Windows 7 or later
- A USB drive or SD card
- A dumped Wii/GameCube game disc (any format)
- TinyWiiBackupManager
Instructions
Section I - Installation
Download the windows binary for your architecture. Most users should download
TinyWiiBackupManager-vX.X.X-windows-x64.exe.Run the downloaded
.exe. If you get a Windows SmartScreen message, simply run anyway as this is a false positive.
Section II - Copying Games
TIP
If you already have games on your drive and TinyWiiBackupManager prompts you to normalize paths, go to the Toolbox and perform this action to ensure that your drive directories are listed correctly.
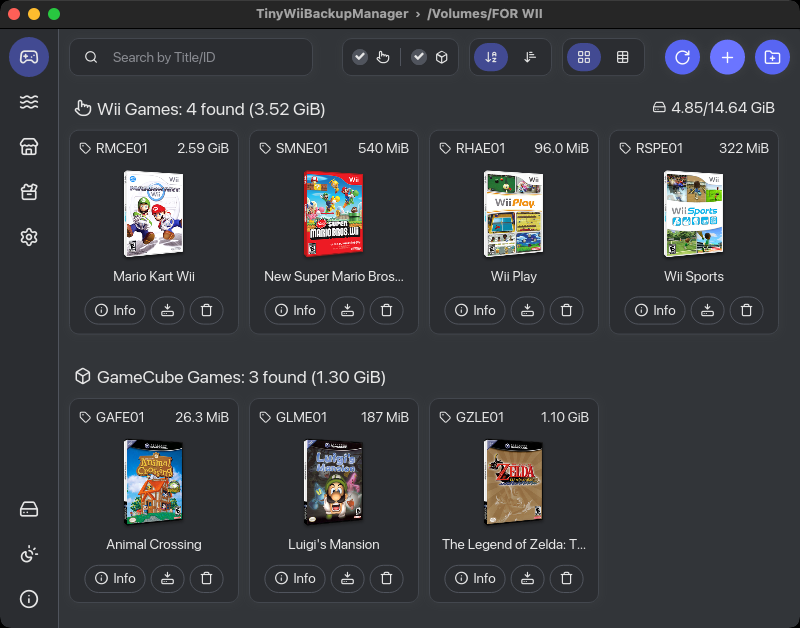
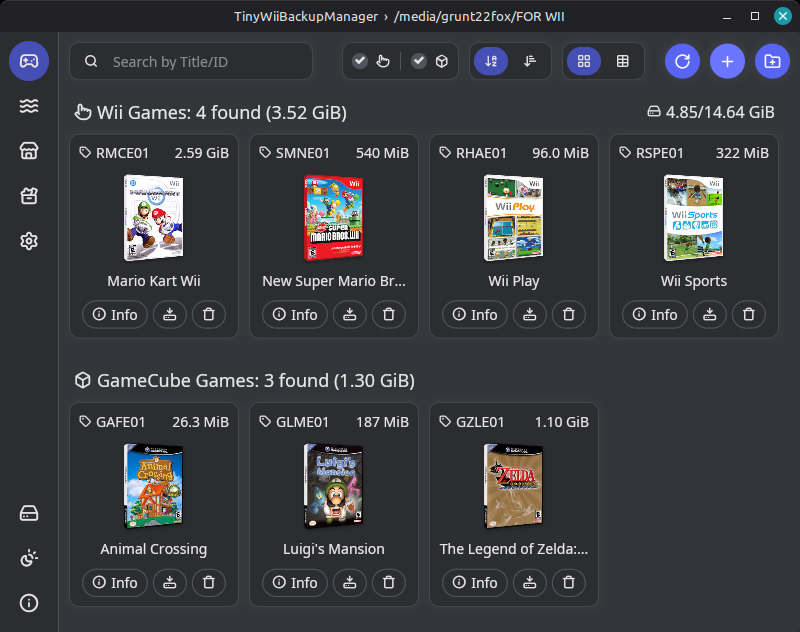
Insert your USB drive or SD card into your computer.
Click the hard drive icon on the bottom left of the app to select your drive. Select the root of the drive (e.g.
E:\), not the "wbfs" or "games" folder.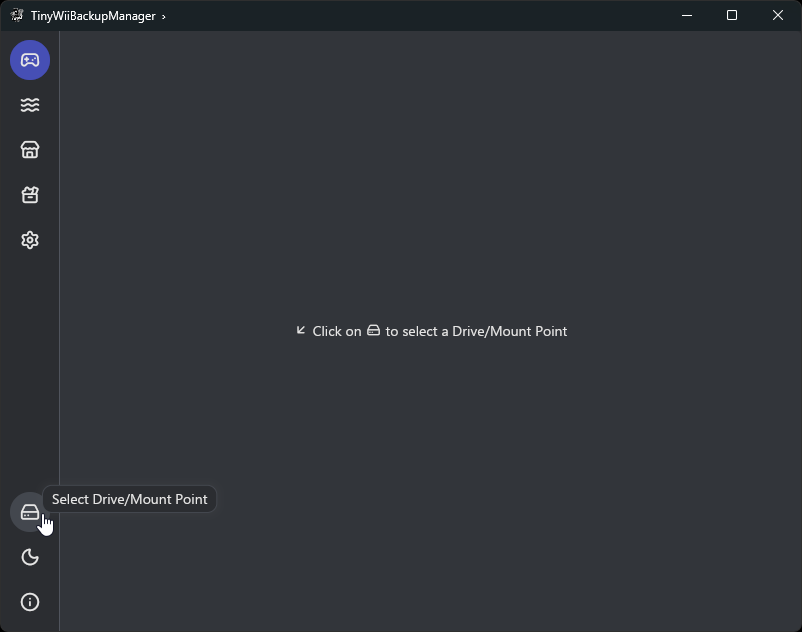
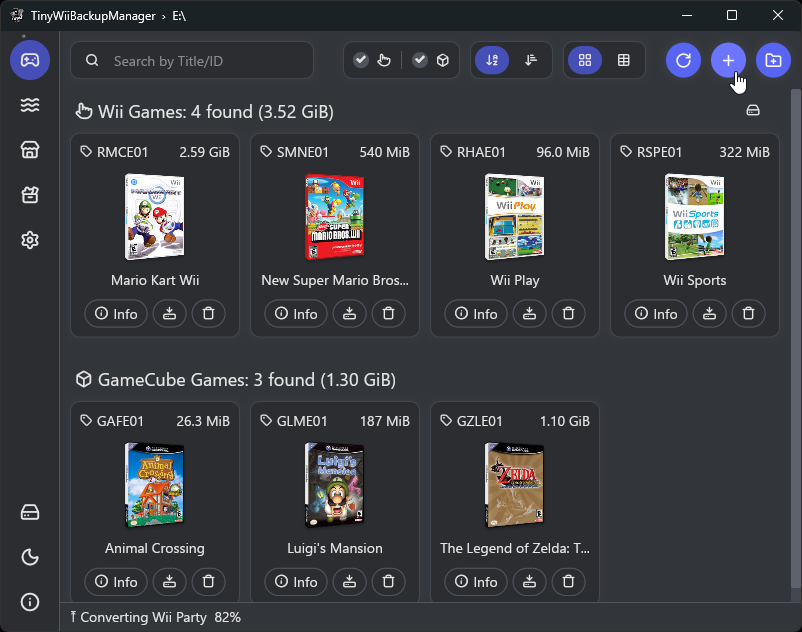
Click the ➕ button on the top right of the app to add one or more games.
- Click the 📁 button to add games from a specific directory.
- You may also drag and drop games from your file manager to add them.
- If a transfer is already in progress when adding new games, they will be added to a queue.
Remember to safely eject your drive before unplugging it!
Using TWBM on macOS
Requirements
- A PC running macOS 10.12 or later
- A USB drive or SD card
- A dumped Wii/GameCube game disc (any format)
- TinyWiiBackupManager
Instructions
Section I - Installation
Download the universal .DMG binary for macOS.

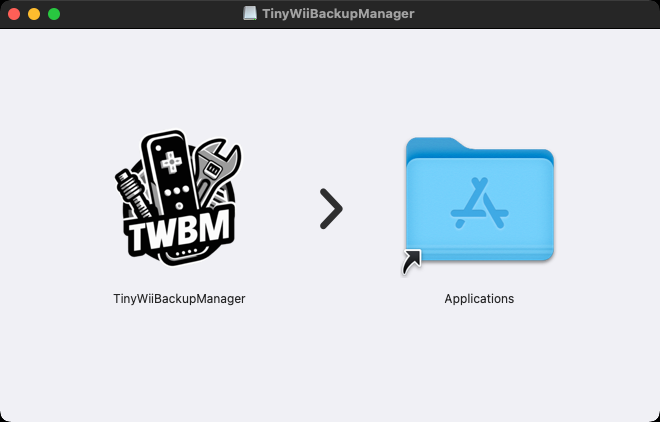
Drag TinyWiiBackupManager to the applications folder.
Run the following command in the Terminal app after installation:
xattr -rd com.apple.quarantine /Applications/TinyWiiBackupManager.app. This will allow the app to run, as it will otherwise be blocked by macOS security settings.
Launch TinyWiiBackupManager.
Section II - Copying Games
TIP
If you already have games on your drive and TinyWiiBackupManager prompts you to normalize paths, go to the Toolbox and perform this action to ensure that your drive directories are listed correctly.
Insert your USB drive or SD card into your computer.
Click the hard drive icon on the bottom left of the app to select your drive. Select the root of the drive (e.g.
E:\), not the "wbfs" or "games" folder.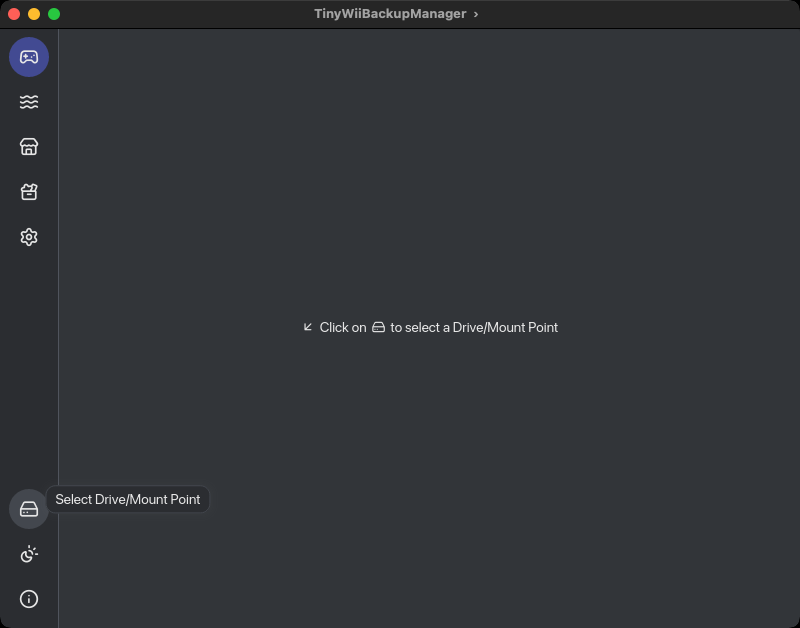
Click the ➕ button on the top right of the app to add one or more games.
- Click the 📁 button to add games from a specific directory.
- You may also drag and drop games from your file manager to add them.
- If a transfer is already in progress when adding new games, they will be added to a queue.
Remember to safely eject your drive before unplugging it!
Using TWBM on Linux
Requirements
- A PC running Linux that supports AppImage or Flatpak
- A USB drive or SD card
- A dumped Wii/GameCube game disc (any format)
- TinyWiiBackupManager
Instructions
Section I - Installation
TinyWiiBackupManager can be installed from the Flathub repository as a Flatpak, or ran directly from an AppImage file. Instructions for both options are outlined below.
Flatpak
Ensure that Flatpak is installed on your system.
Navigate to the Flathub repository for TWBM and press the Install button. If nothing happens, download the
.flatpakreffile and open it to find the program in your distro's app store. If nothing happens again, runflatpak install flathub it.mq1.TinyWiiBackupManagerin your terminal.
Ensure that TinyWiiBackupManager is installed on your system, and then launch the app.
AppImage
Download the AppImage binary for your architecture. Most users should download
TinyWiiBackupManager-vX.X.X-linux-x86_64.AppImage.
Ensure that the AppImage binary is executable by running
chmod +x [binary location].
Launch TinyWiiBackupManager.
Section II - Copying Games
TIP
If you already have games on your drive and TinyWiiBackupManager prompts you to normalize paths, go to the Toolbox and perform this action to ensure that your drive directories are listed correctly.
Insert your USB drive or SD card into your computer.
Click on the Drive icon in the bottom left of the app to select your drive. Select the root of the drive (e.g.
E:), not the "wbfs" or "games" folder.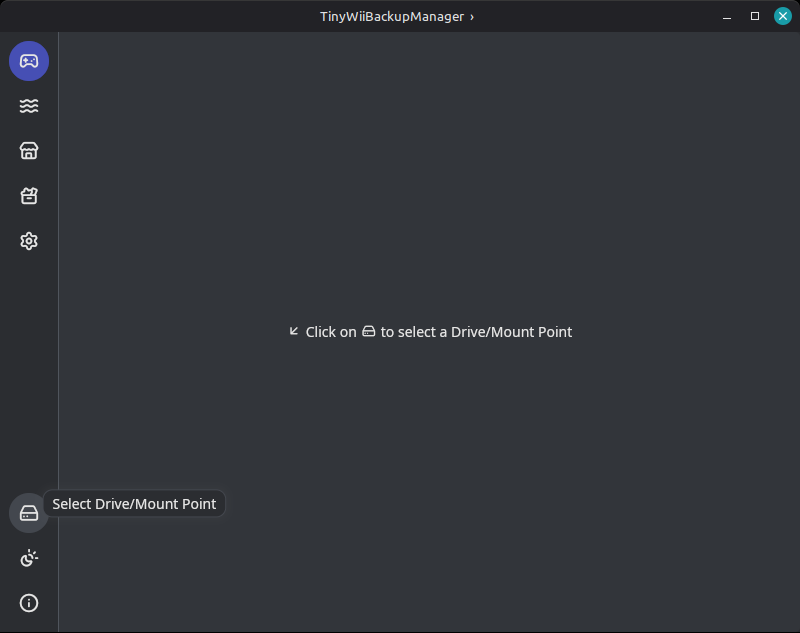
Click the ➕ button on the top right of the app to add one or more games.
- Click the 📁 button to add games from a specific directory.
- You may also drag and drop games from your file manager to add them. Please note that this feature is not currently available on Wayland.
- If a transfer is already in progress when adding new games, they will be added to a queue.
Remember to safely eject your drive before unplugging it!
TIP
In order to play dumped Wii games from your external device, you must have cIOS configured. Once cIOS is configured, you can use USB Loader GX or WiiFlow to play Wii games from your USB drive or SD card.
You can also use Nintendont to play GameCube games from your USB drive or SD card.