Creating a NAND Backup (Wii)
In order to protect your Wii from permanant bricks, this guide will instruct you on how to create a NAND backup. Most users will want to select nanddumper@ios, with BootMii as a backup option for users that can use an SD card.
Importing NAND Backup to Dolphin Emulator
Your NAND backup can be utilized in Dolphin Emulator, if you choose to do so.
- Get the latest release of Dolphin Emulator from the Dolphin Website and install it to your device.
- 돌핀 에뮬레이터 열기
도구탭을 클릭하고낸드 관리까지 아래로 스크롤한 다음BootMii 낸드 백업 가져오기...를 선택합니다.- SD 카드의 루트에 있는
nand.bin을 찾아 열기를 선택합니다. keys.bin을 요청하는 경우 SD 카드의 루트에서 이를 찾아 열기를 선택합니다.
Note that you will need to rename your NAND dump to the files above if you used nanddumper@ios, as described in the below section.
On Wii consoles with a usable USB port or SD card slot, nanddumper@ios allows for backing up your Wii's NAND storage. nanddumper@ios is recommended over BootMii due to its quicker speed in creating a NAND backup. This section will guide you through the process to back up your Wii's NAND, which you can then use however you like.
Please read the below information before proceeding further.
INFO
Important Information
After the completion of this guide, four files will have been created in the directory
/wii/backupson your USB drive.DATE_SERIAL_nand_XX.binis your NAND backup, andSERIAL_keys.binis the file containing your console keys.DATE_SERIAL_nand_XX.bin.sha1andsha1sums.txtrespectively are files containing checksums to verify the integrity of your backups, and will not be used in an actual NAND restoration.Please note that restoring a NAND backup is usually a last resort. With that said, you can use the BootMii Recovery guide to restore your NAND backup, where more information is provided about the risks and alternatives. You can ONLY use BootMii to restore a NAND backup if you have a usable SD card slot, as described below.
If you are a Wii mini user or DO NOT have a usable SD card slot, you will be UNABLE to restore your NAND backup without hardware modification. This is because BootMii Restore requires an SD card slot to read the NAND from.
If you DO NOT have a usable GameCube controller port, you will also be UNABLE to restore your NAND backup without hardware modification. This is because BootMii Restore requires a GameCube controller port to enter the Konami code with for consoles that do not have BootMii as boot2.
요구 사항
- A USB drive or SD card formatted as FAT32, with a minimum 512MB of free space (1GB or more recommended)
- nanddumper@ios
지침
오픈 샵 채널 웹사이트에서 추천하는
.zip파일을 다운로드합니다.보관 파일의
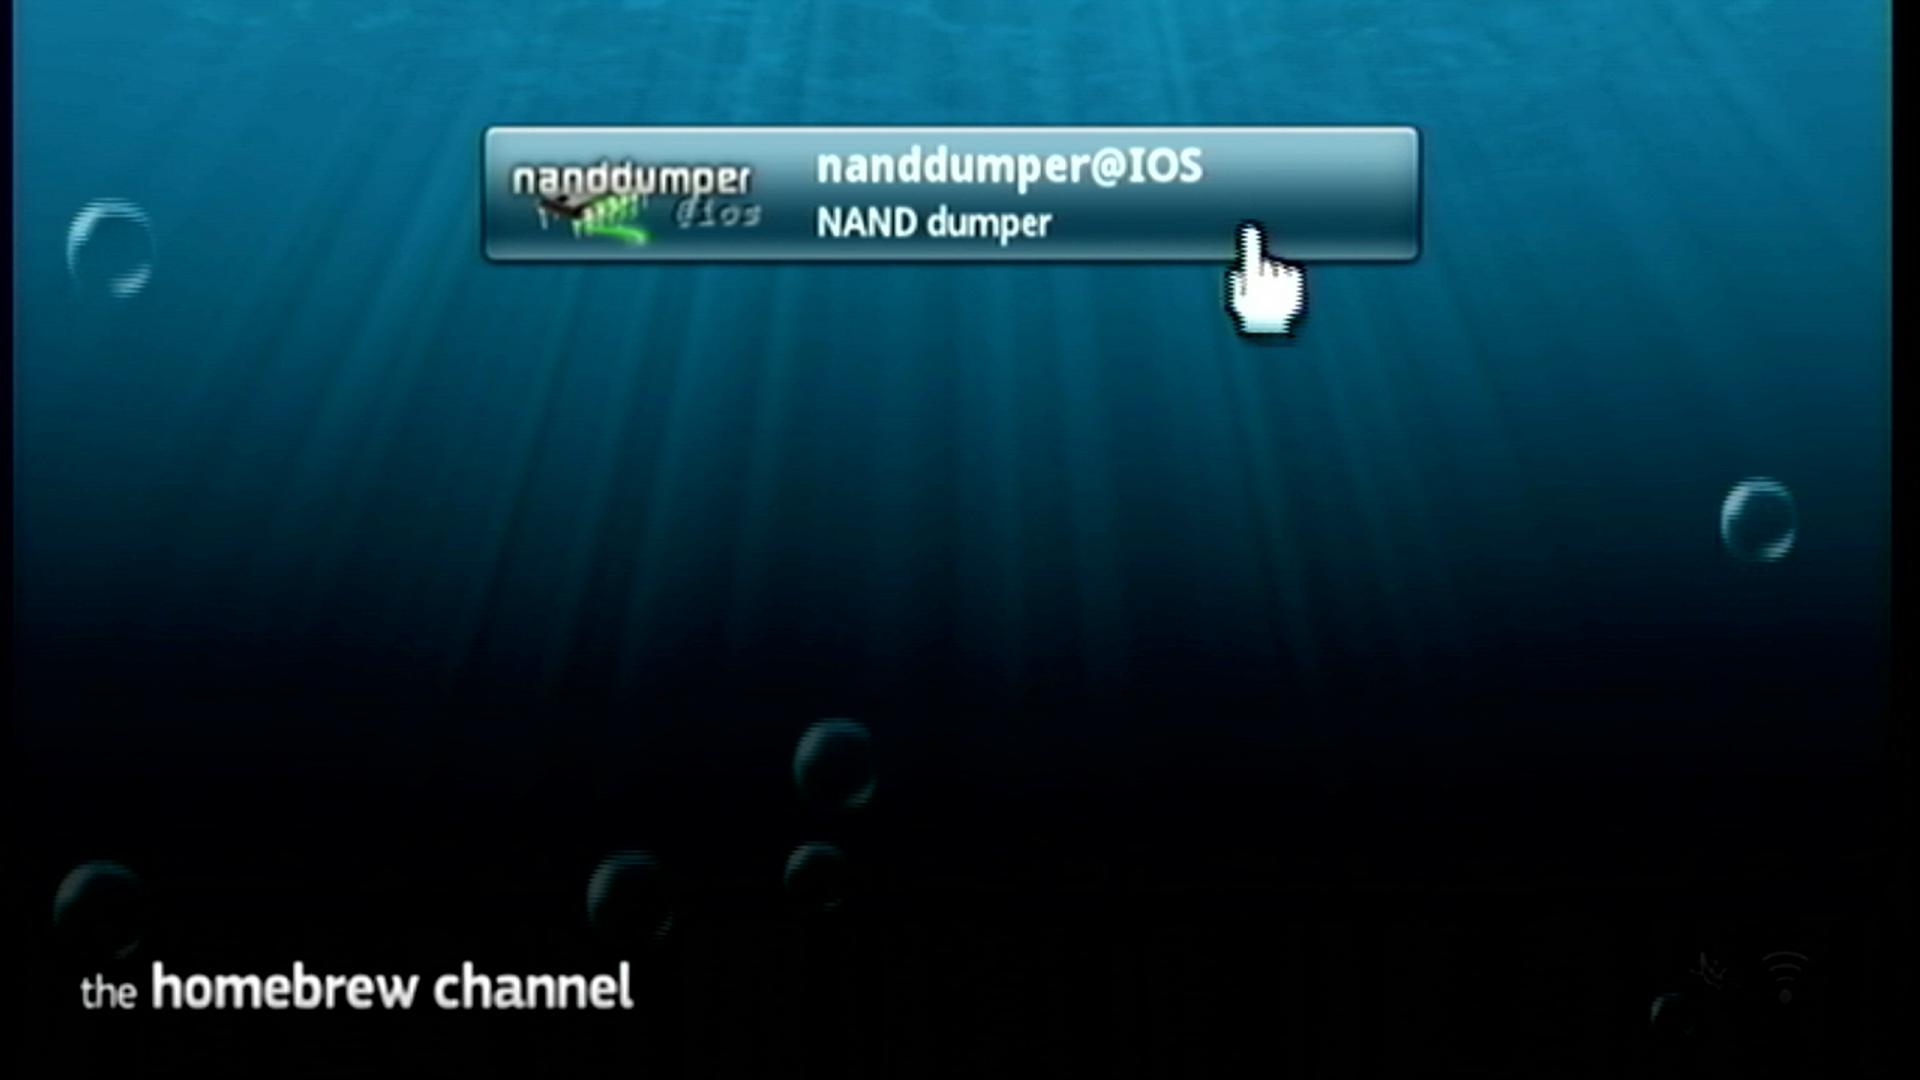
apps폴더를 SD 카드나 USB 드라이브의 루트에 압축 해제합니다.Insert the SD card or USB drive into your Wii, and start the Homebrew Channel. Press
1and ensure that the device you are using is selected, and then open nanddumper@ios.- If you get an Exception IOS occurred! error, simply restart your Wii and try again.
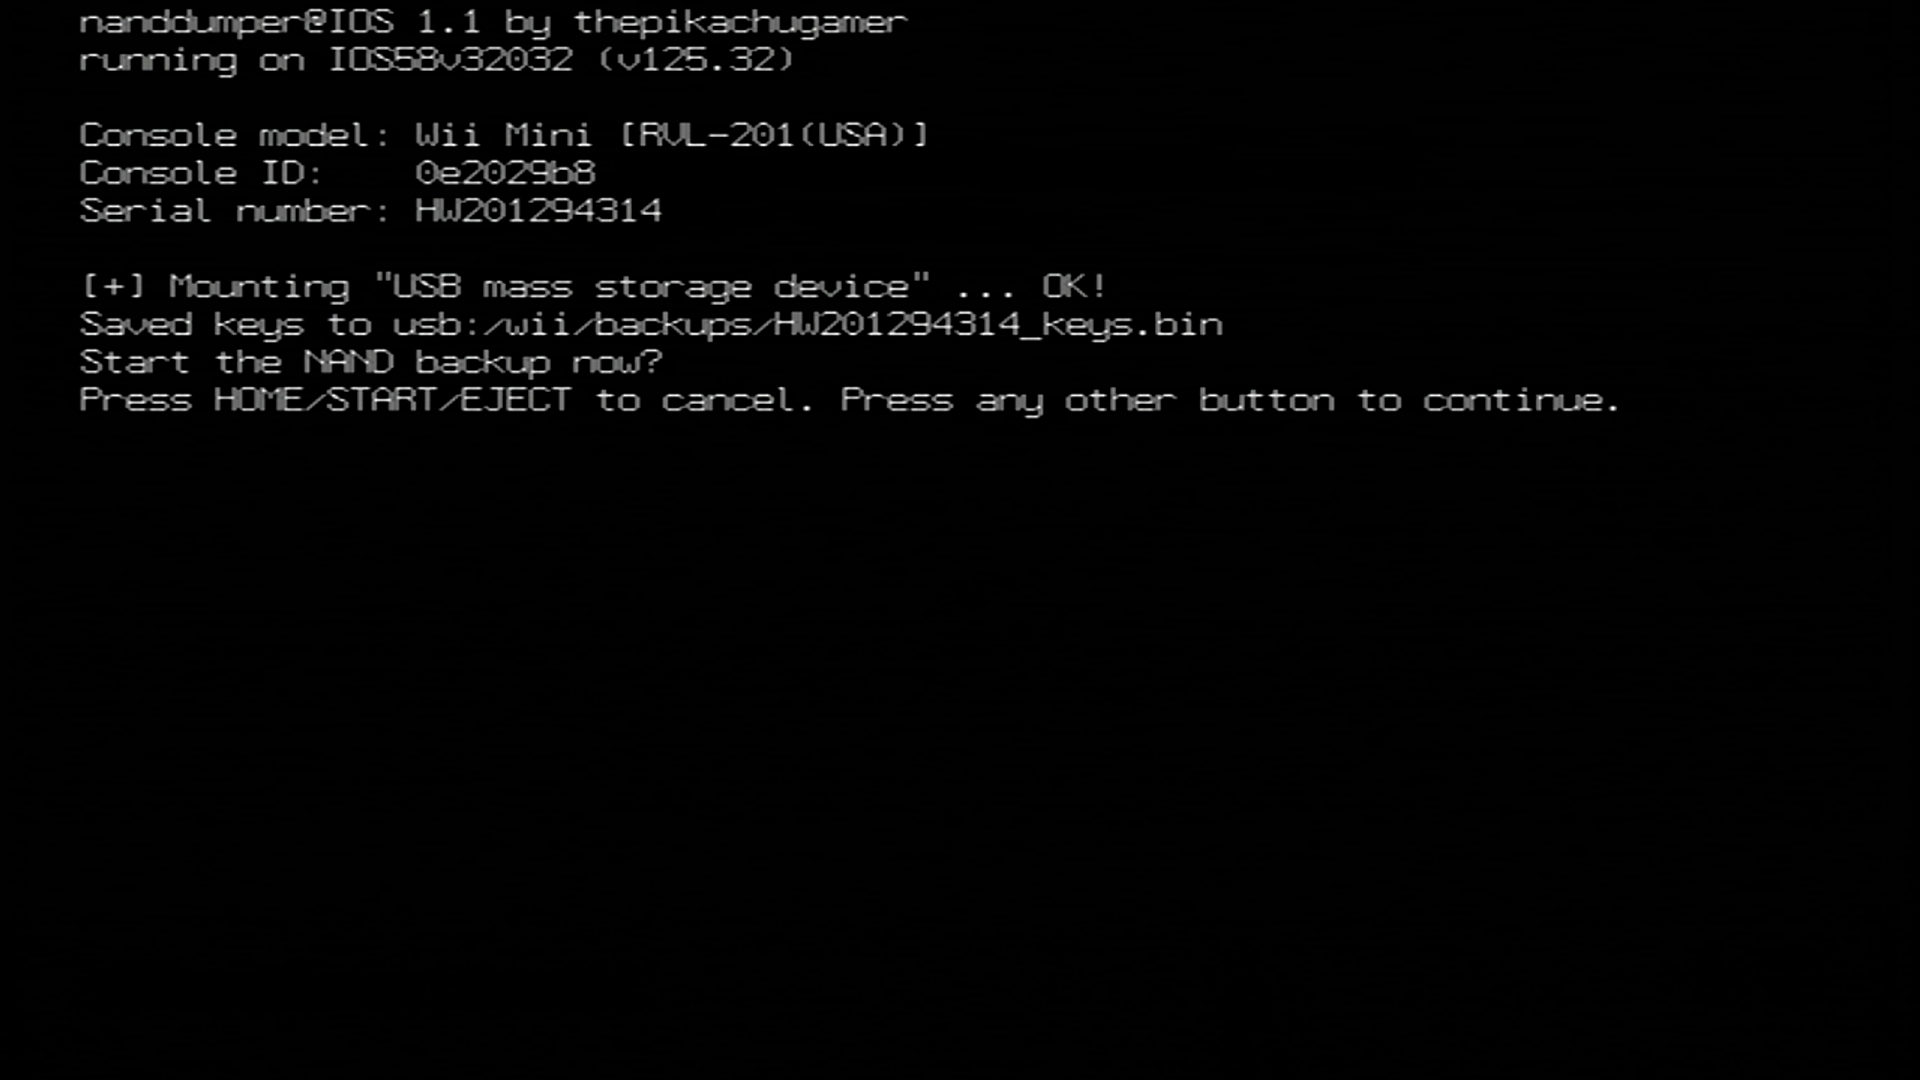
nanddumper@ios will start and dump your console keys upon opening, if they are not already on your drive. Press any button that is NOT the
HOME,START, orEJECTbuttons to begin dumping your console's NAND storage.- If you get a No storage devices are attached error, ensure that your SD card or USB drive is directly connected to your Wii. If using a USB drive, it should NOT be connected to a USB hub.
- If you get a No storage devices are attached error, ensure that your SD card or USB drive is directly connected to your Wii. If using a USB drive, it should NOT be connected to a USB hub.
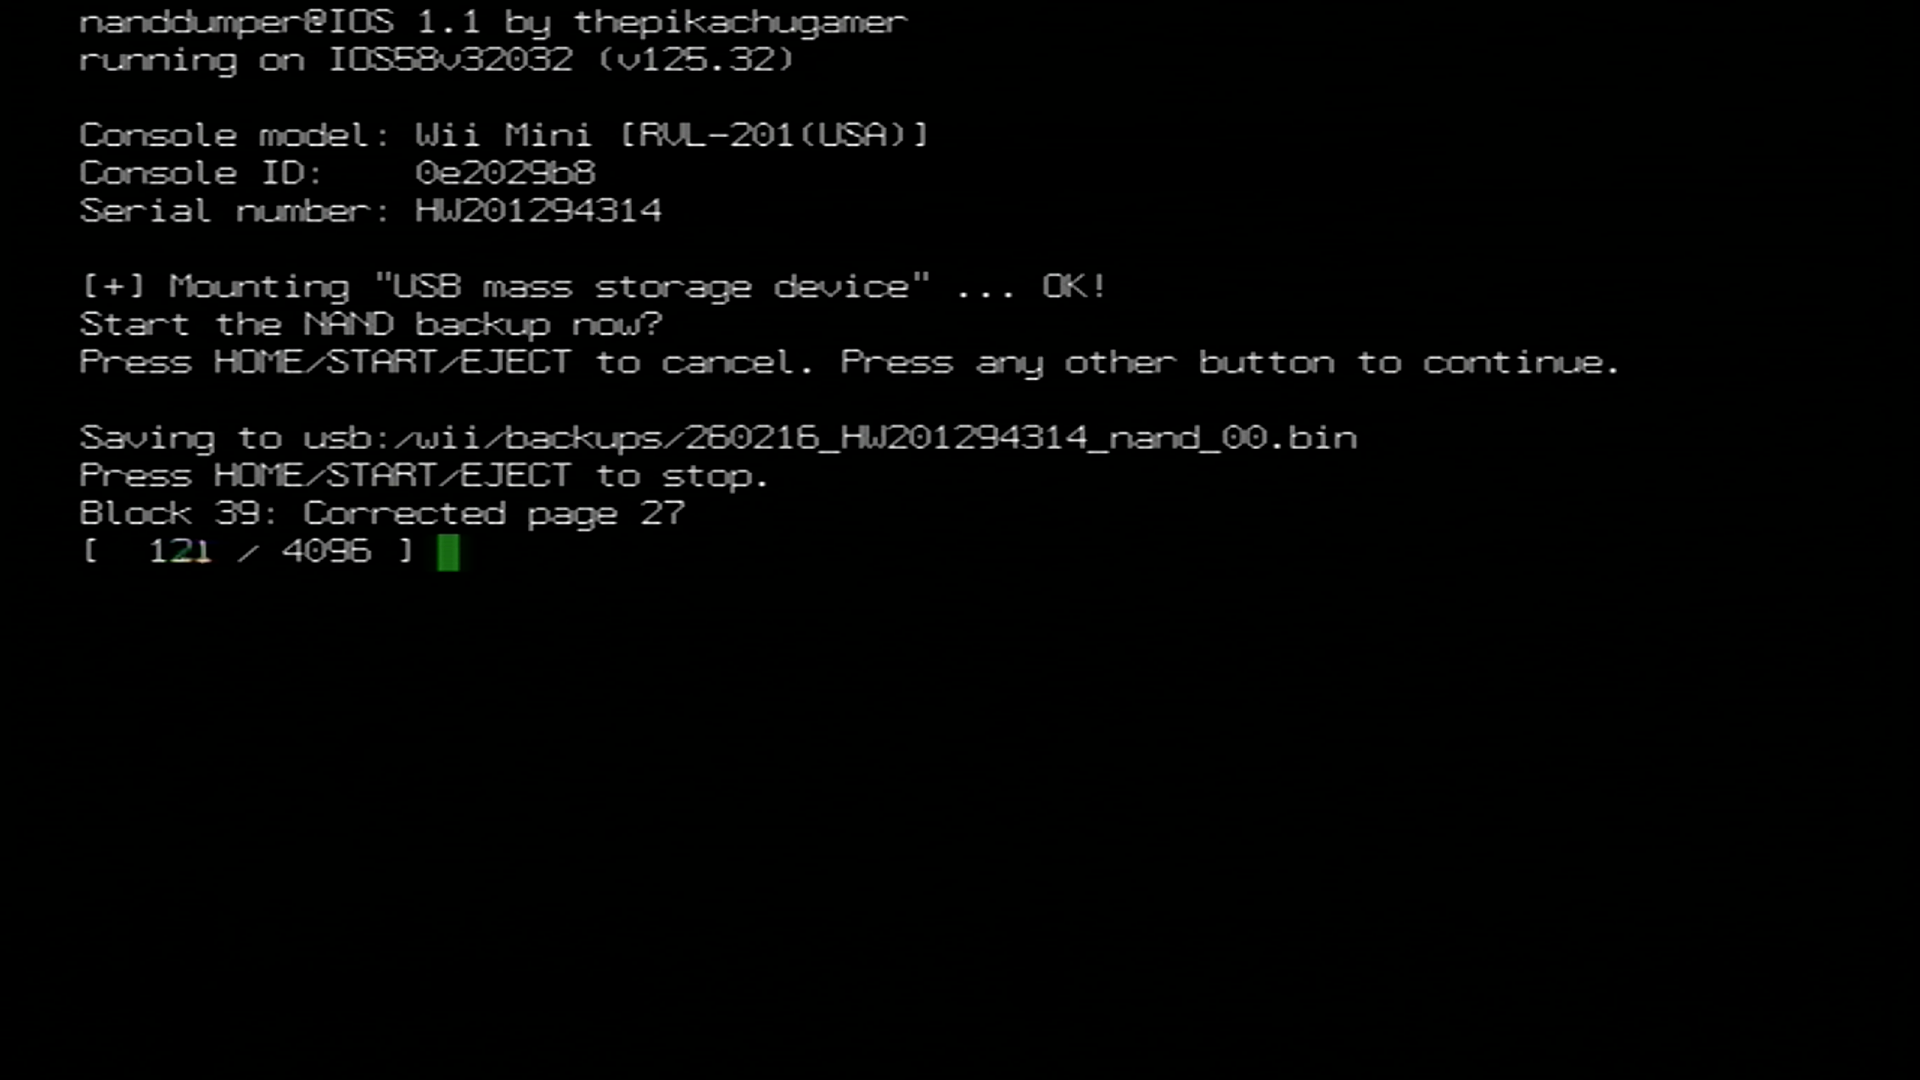
Your console's NAND will now begin dumping. Please wait for the NAND dump to finish before proceeding.
Once the NAND backup has concluded, press any button to exit nanddumper@ios. Your NAND backup and console keys will be output to your USB drive in directory
/wii/backups/.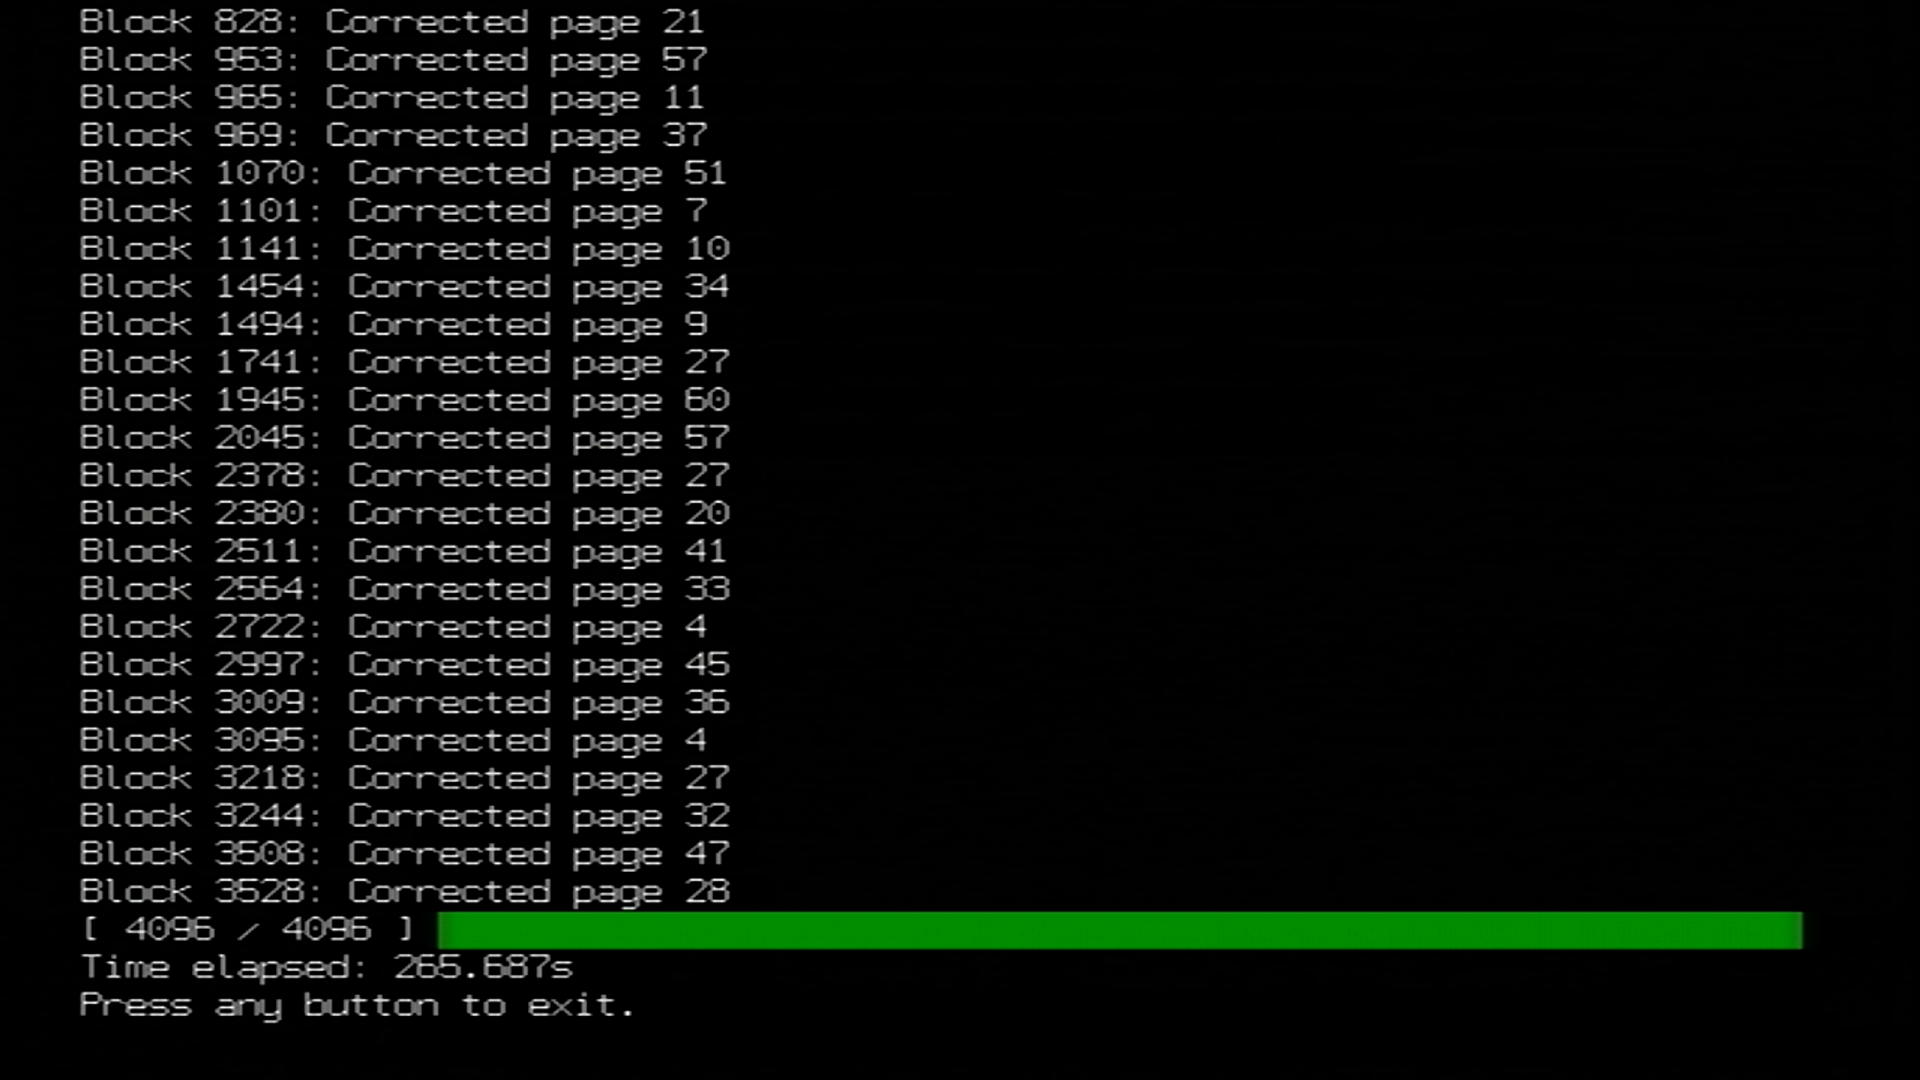
On your computer, ensure that you rename
DATE_SERIAL_nand_XX.bintonand.bin, andSERIAL_keys.bintokeys.bin. This ensures that BootMii can properly parse your NAND backup in the event that it needs to be restored.
TIP
Priiloader는 2차 수준의 벽돌 방지 기능을 추가하며, BootMii가 boot2로 설치된 경우에도 적극 권장됩니다. 이 기능은 특히 IOS에서 BootMii를 사용하는 사용자에게 중요합니다.
If you are on Wii mini, this is your primary means of brick protection.
On Wii consoles with an SD card slot, BootMii allows for backing up and restoring your Wii's NAND storage. This section will guide you in backing up your Wii's NAND to an SD Card, which you can then use however you like.
Please read the below information before proceeding further.
INFO
Important Information
After the completion of this guide, two files will have been created on the root of your SD Card:
nand.binandkeys.bin.nand.bin은 콘솔의 내부 메모리의 백업이고,keys.bin은 콘솔의 키입니다.BootMii를 boot2로 설치한 경우 콘솔을 다시 시작하여 BootMii를 실행해야 합니다. 이 경우 1 단계와 2 단계를 건너뜁니다.
You must use the buttons on your console or a GameCube controller plugged into port 1 to navigate BootMii. To navigate with a GameCube controller, click left/right on the +Control Pad to move, and press A to select. To navigate with your console buttons, press
POWERto move right, and pressRESETto select.Please note that restoring a NAND backup is usually a last resort. With that said, you can use the BootMii Recovery guide to restore your NAND backup, where more information is provided about the risks and alternatives.
Family Edition Wiis CANNOT restore NAND backups without hardware modification. 이는 boot2가 아닌 Wii에 복원 확인 코드를 입력하는 데 필요한 게임큐브 포트가 없기 때문입니다.
DANGER
Important Warnings
This is intended to be a backup option, as BootMii is slower than nanddumper@ios. You need an SD card to use BootMii. If you do not have an SD card on hand right now, but instead have a usable USB drive, you can use the nanddumper@ios guide instead.
홈브류 채널에
BootMii 실행버튼이 나타나지 않으면 HackMii 설치 프로그램을 다시 실행하고 BootMii를 설치합니다.화면이 검은색으로 유지되고 파란색 디스크 드라이브 표시등이 깜박이면 SD 카드에 BootMii 파일이 누락된 것입니다. 이 zip 파일을 다운로드하고 SD 카드의 루트에 압축을 푼 다음 다시 시도합니다.
BootMii cannot be used on the Wii mini without hardware modification. Use nanddumper@ios if you are a Wii mini user.
요구 사항
- 최소 512MB의 여유 공간이 있는 SD 카드 (1GB 이상 권장)
- BootMii
지침
콘솔 전원을 켜세요.
Launch the Homebrew Channel, and launch the Load Priiloader app.
Press the HOME Button, then select "Launch BootMii".
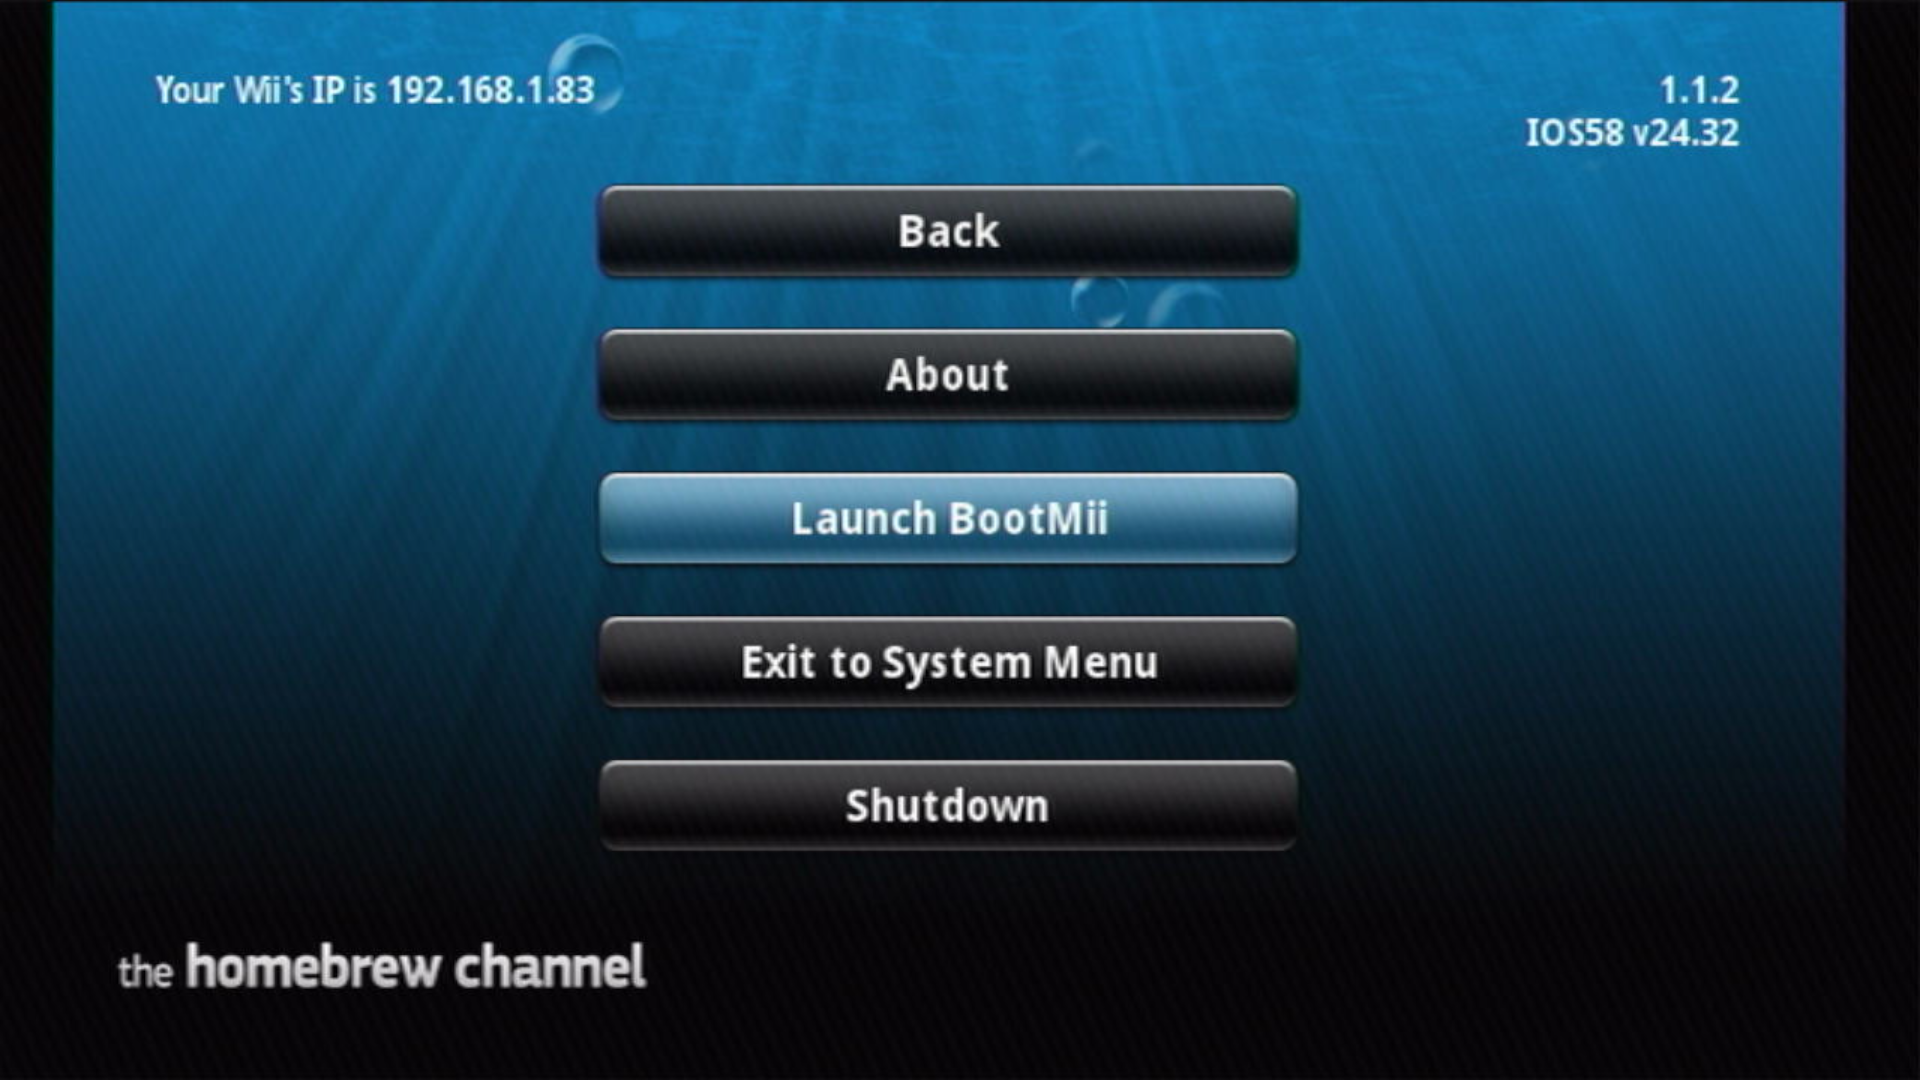
이제 화면에 아래와 비슷한 이미지가 표시되어야 합니다:
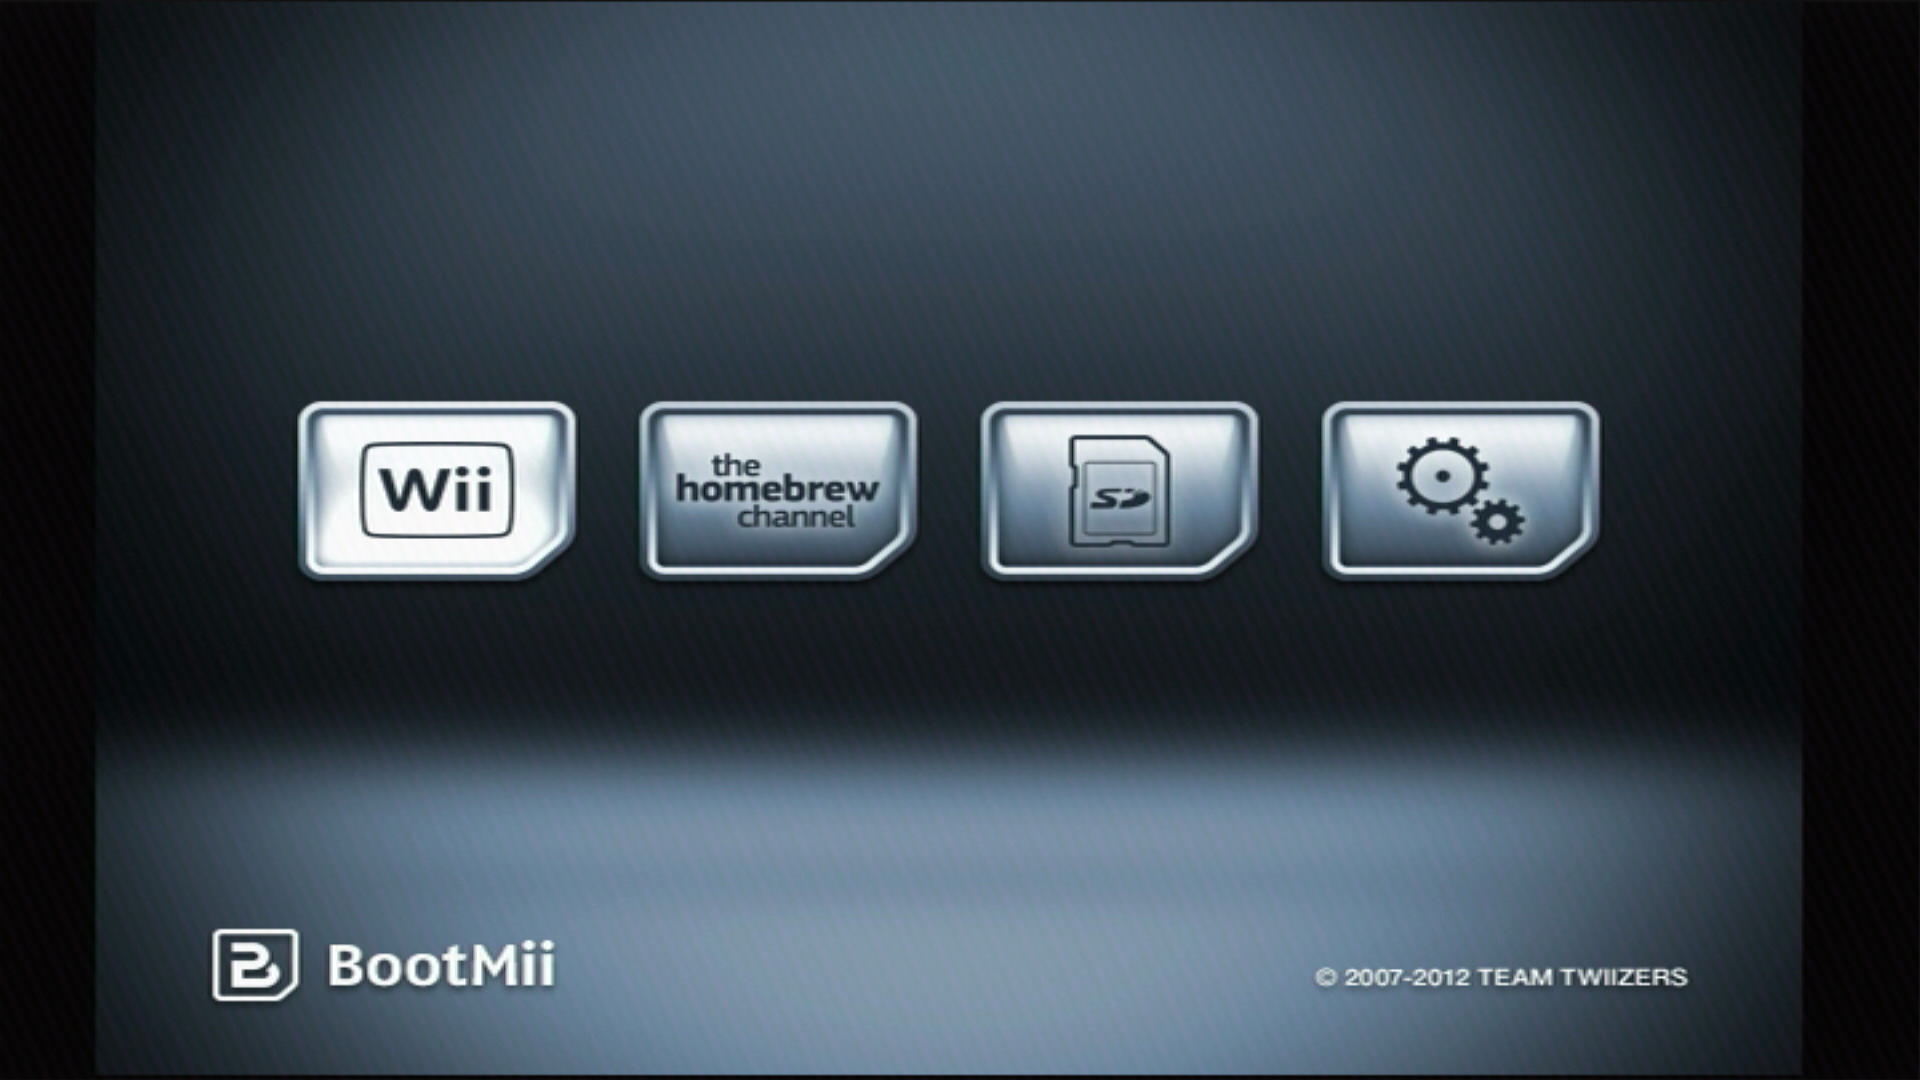
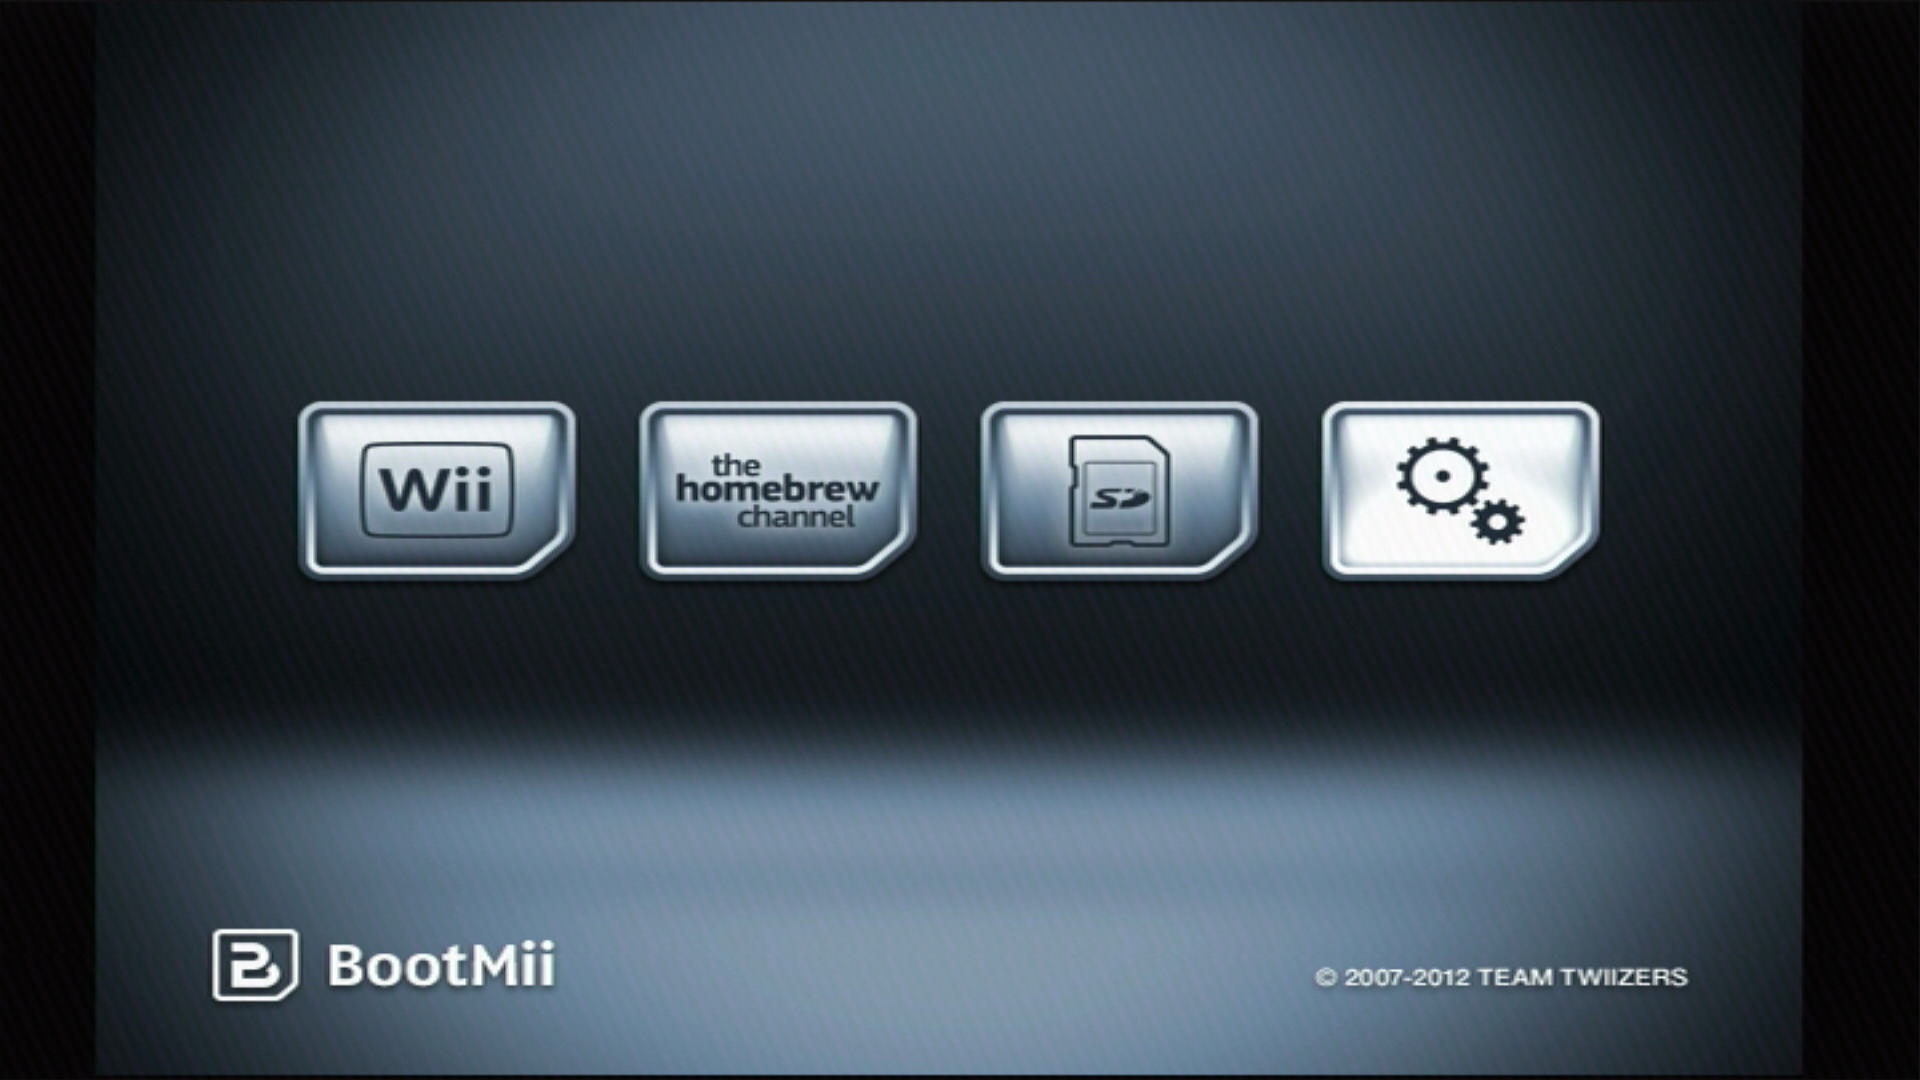
옵션 버튼 (톱니바퀴가 있는 아이콘) 을 선택합니다.
왼쪽의 첫 번째 버튼을 선택합니다.
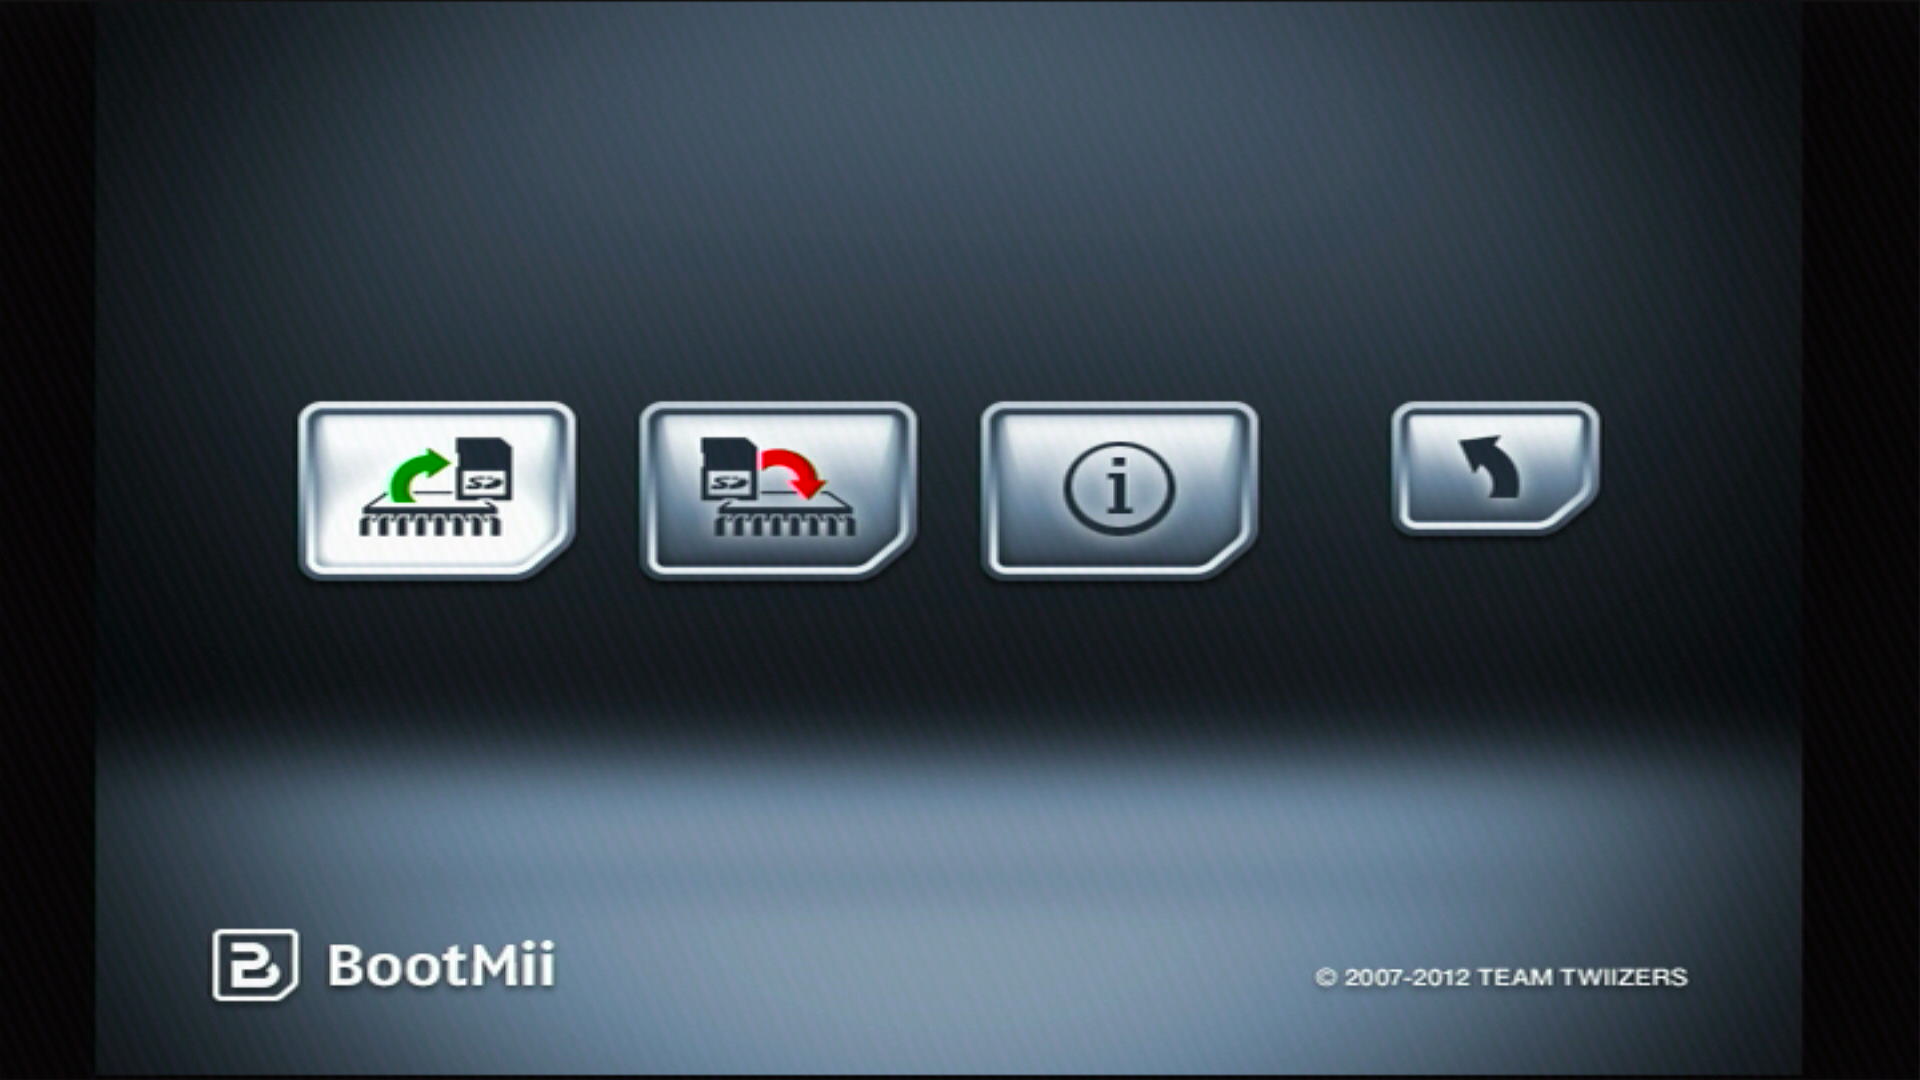
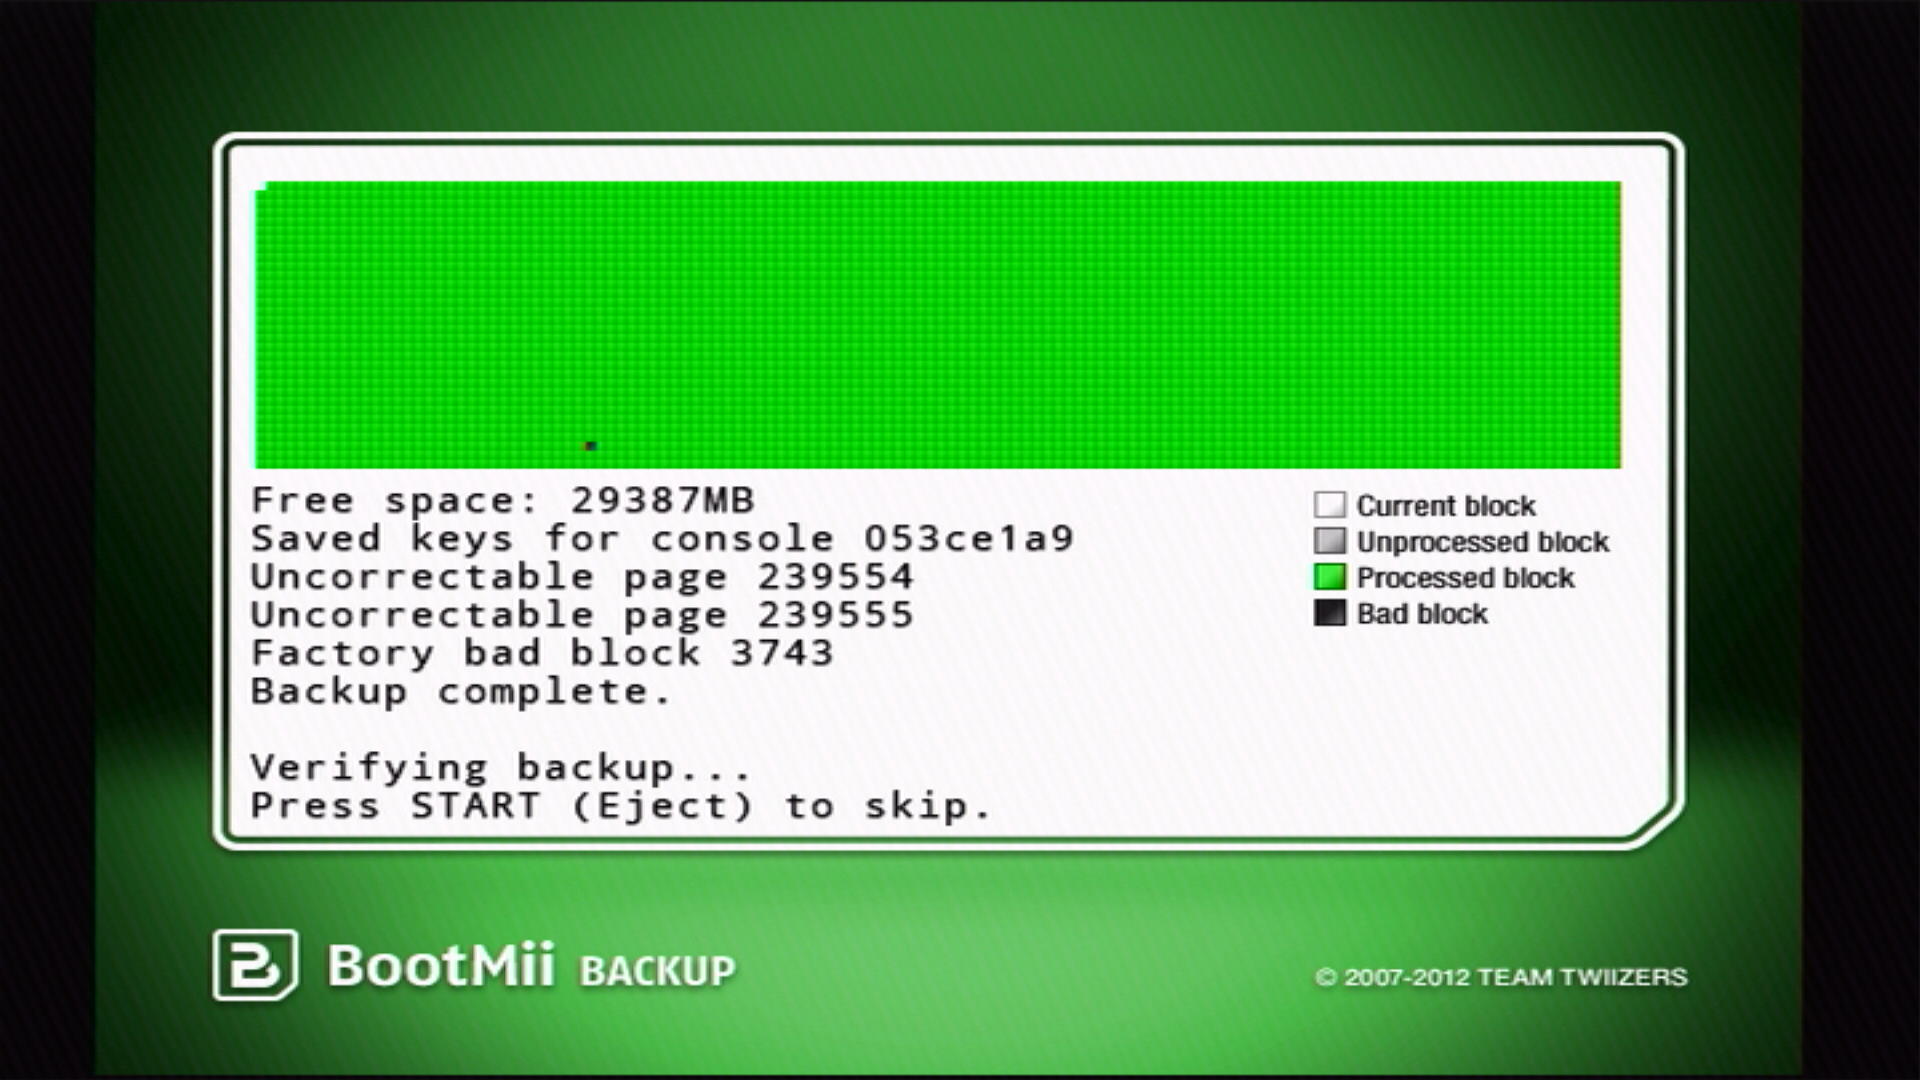
NAND 백업이 시작됩니다. 화면에서 진행 상황을 확인할 수 있습니다.
- "배드 블록"은 정상적입니다. NAND 백업 중 일부가 보이더라도 걱정하지 마세요.
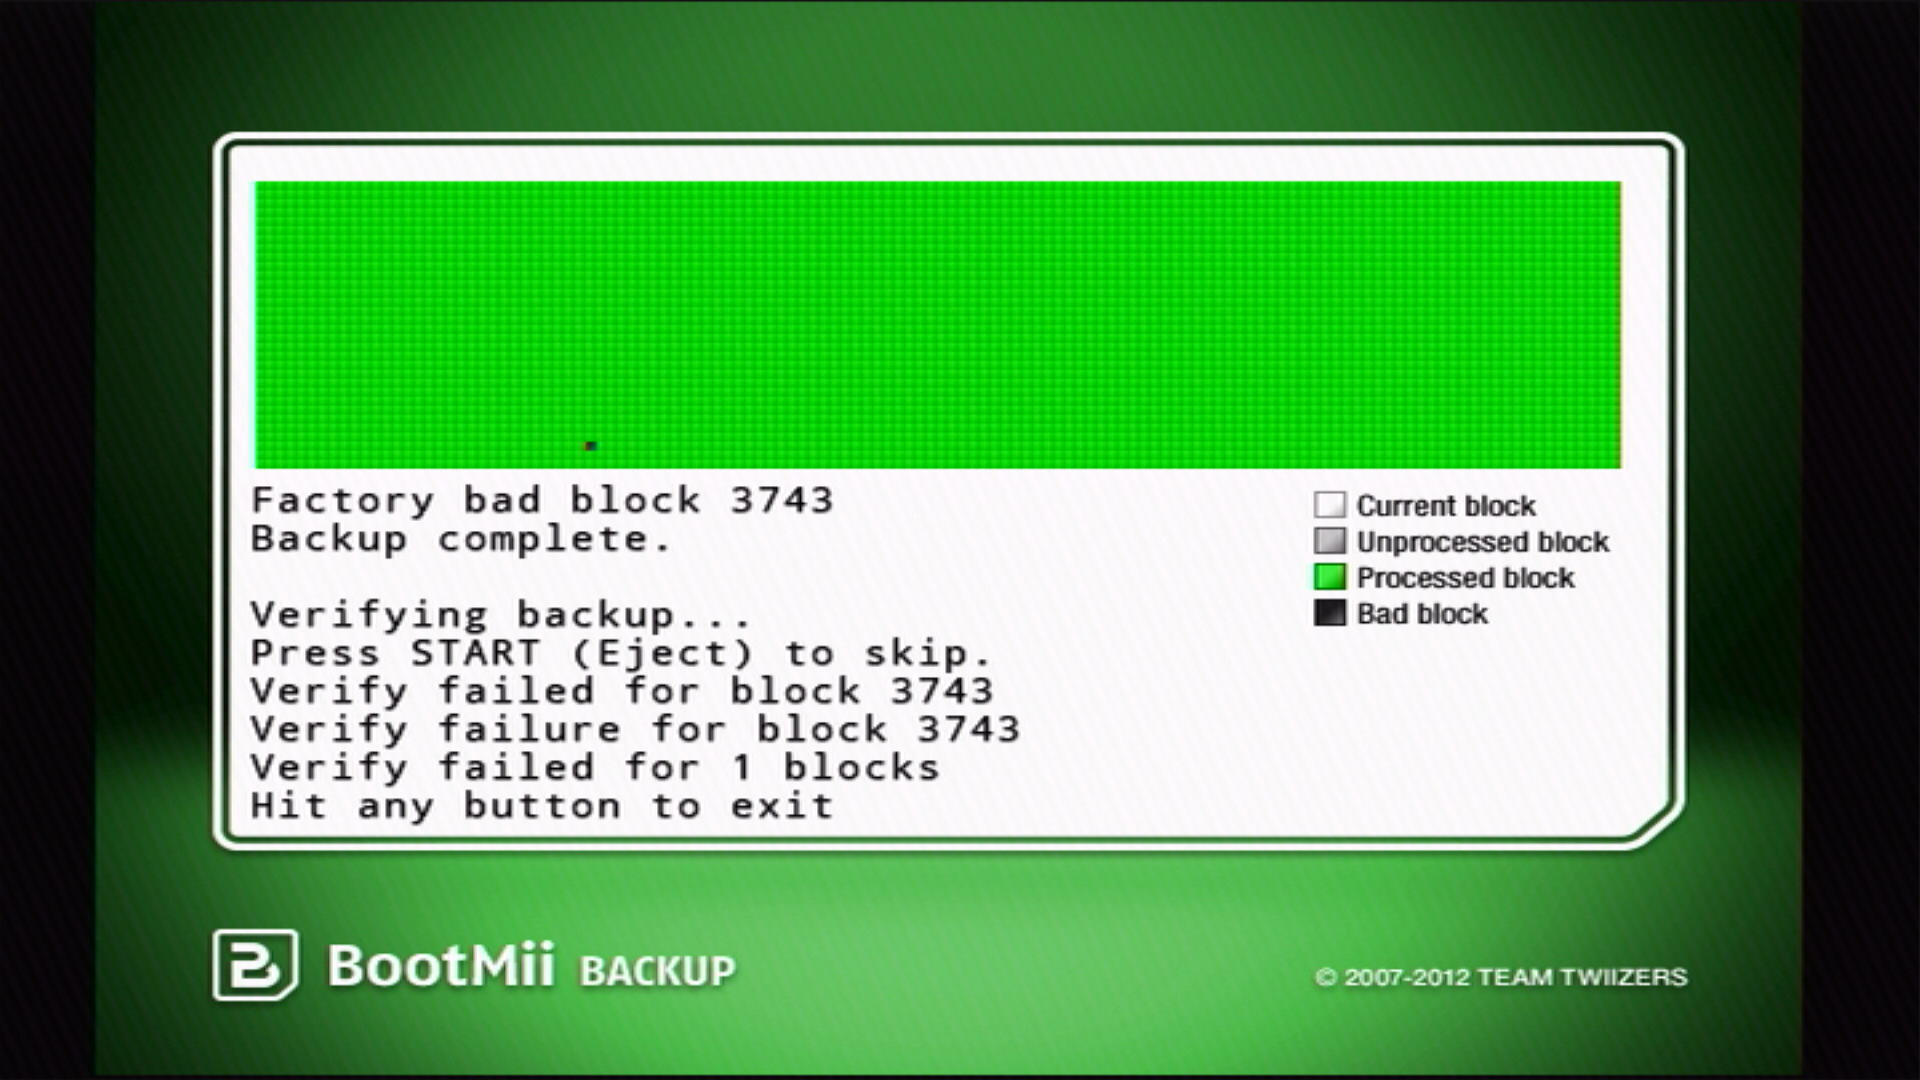
이 단계가 끝나면, 백업을 확인합니다. 이상적으로는 검증 과정 이후 모든 블록이 녹색이 되어야 합니다.
- 수정할 수 없는 페이지가 포함된 공장 불량 블록이 있는 경우 이러한 블록은 검증에 실패할 수 있습니다. 모든 불량이 아닌 블록이 성공적으로 검증된다면 문제가 없을 것입니다.
BootMii를 종료하려면 뒤로 버튼 (화살표가 있는 버튼) 을 누른 다음 Wii 메뉴 버튼 또는 홈브류 채널 버튼을 눌러 원하는 위치에서 종료할 수 있습니다.

TIP
Priiloader는 2차 수준의 벽돌 방지 기능을 추가하며, BootMii가 boot2로 설치된 경우에도 적극 권장됩니다. 이 기능은 특히 IOS에서 BootMii를 사용하는 사용자에게 중요합니다.