Creating a NAND Backup (Wii U)
In order to protect your Wii U from permanant bricks, this guide will instruct you on how to create a NAND backup.
TIP
If you have already exploited your Wii U and created a NAND dump, proceed to Installing the Homebrew Channel.
WARNING
SD 카드는 FAT32로 포맷해야 합니다. SD 카드가 FAT32 형식으로 포맷되어 있지 않다면 이 가이드를 따라 포맷하세요.
DO NOT label the SD Card as wiiu or it will cause issues with homebrew.
요구 사항
- A Wii U
- 카페를 위한 아로마의 최신 파일입니다.
- Review the preliminary steps, then check all 4 boxes.
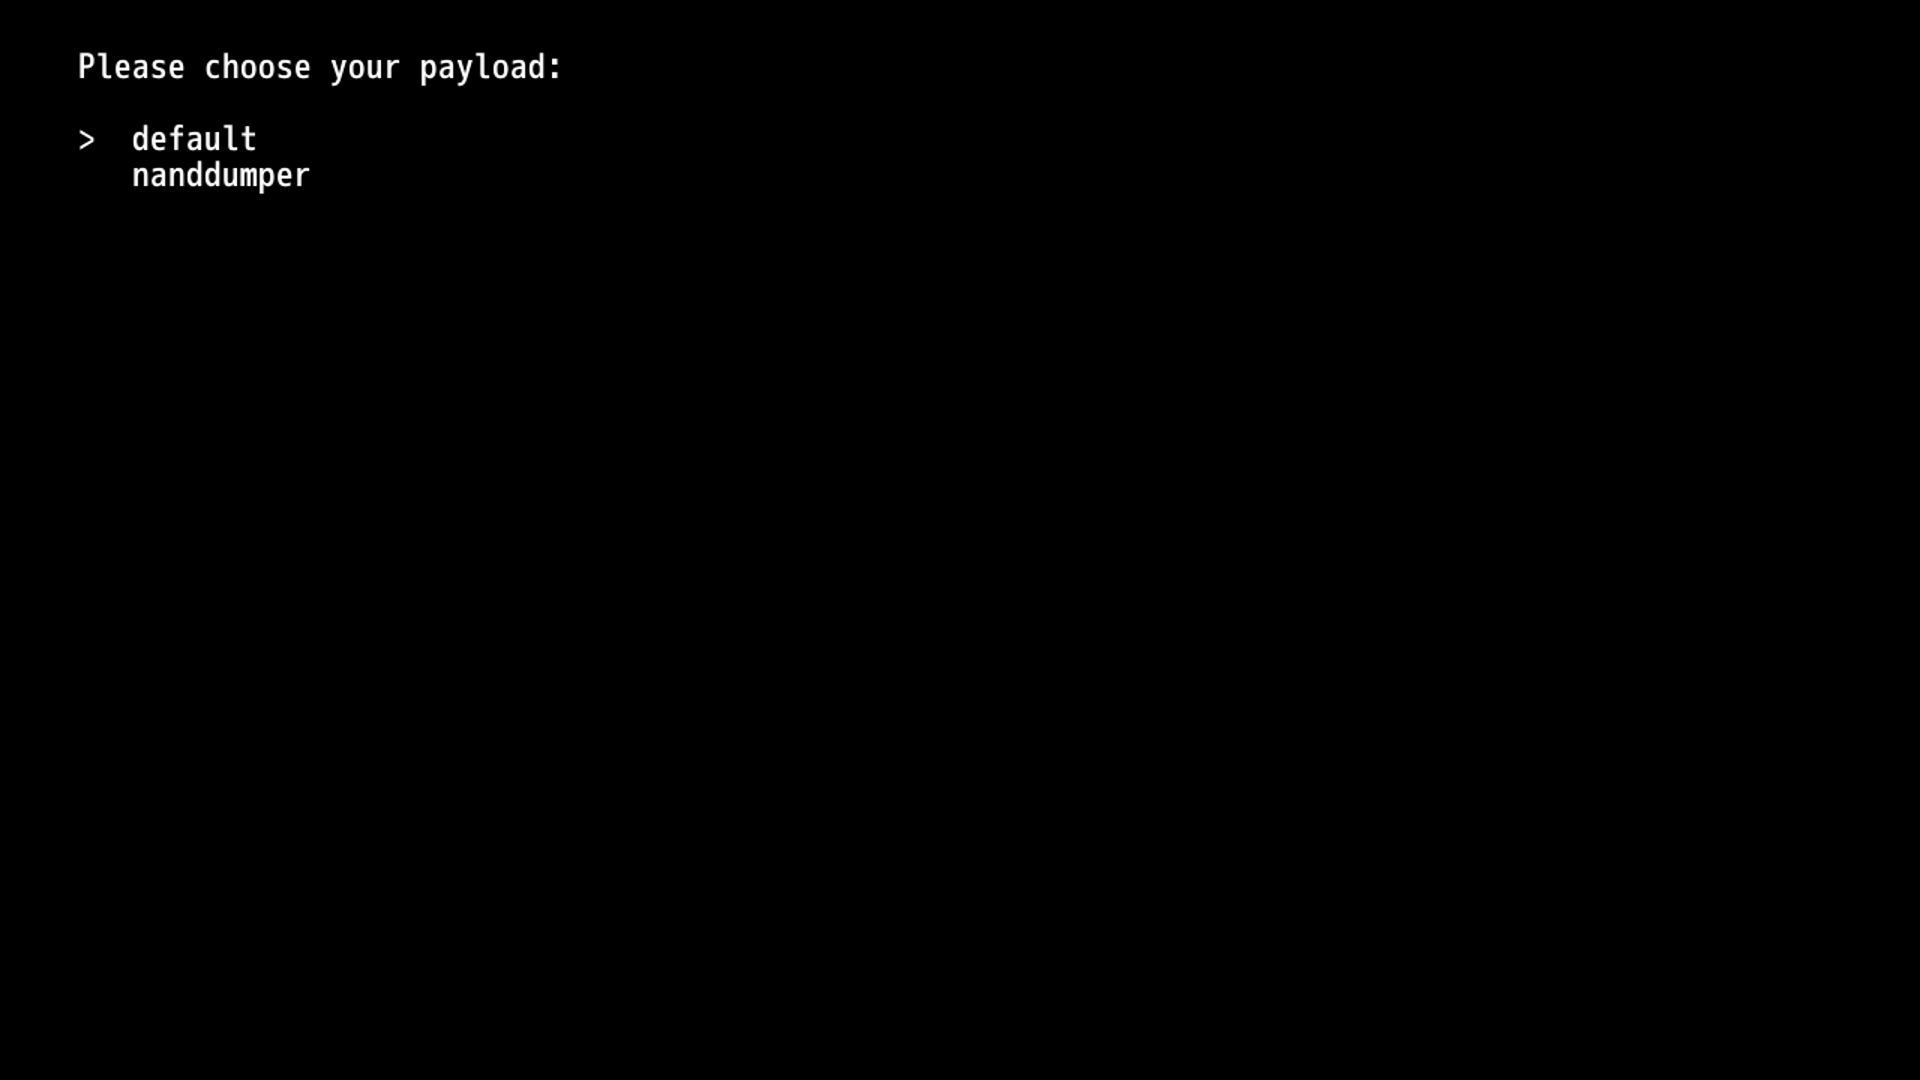
- Ensure that nanddumper is selected.
페이로드 다운로드를 클릭합니다.베이스 아로마 다운로드를 클릭합니다.
- The latest release of the Compat Title Installer (
compat_installer-Aroma.zip)
지침
섹션 I - SD 준비
- Wii U의 SD 카드를 PC에 연결합니다.
- 다운로드한 아로마
.zip파일의 내용을 SD 카드의 루트에 복사합니다. - Copy
compat_installer.wuhbfile fromcompat_installer-Aroma.ziptowiiu->appsof your SD Card.
If you followed the steps correctly, your SD card should have the following layout:
💾 SD Card
 ┗ 📁 wiiu
   ┣ 📁 apps
   ┃ ┣ 📄 AromaUpdater.wuhb
   ┃ ┗ 📄 PayloadLoaderInstaller.wuhb
   ┣ 📁 environments
   ┃ ┗ 📁 aroma
   ┃   ┣ 📁 modules
   ┃   ┃ ┗ 📁 setup
   ┃   ┃   ┣ 📄 00_mocha.rpx
   ┃   ┃   ┣ 📄 10_wums_loader.rpx
   ┃   ┃   ┗ 📄 99_autoboot.rpx
   ┃   ┣ 📁 plugins
   ┃   ┃ ┣ 📄 AromaBasePlugin.wps
   ┃   ┃ ┣ 📄 drc_region_free.wps
   ┃   ┃ ┣ 📄 homebrew_on_menu.wps
   ┃   ┃ ┗ 📄 regionfree.wps
   ┃   ┗ 📄 root.rpx
   ┣ 📁 payloads
   ┃ ┣ 📁 default
   ┃ ┃ ┗ 📁 payload.elf
   ┃ ┗ 📁 nanddumper
   ┃   ┗ 📄 payload.elf
   ┣ 📄 payload.rpx
   ┗ 📄 payload.elf
Section II - Launching Browser Exploit
TIP
Ensure that your Wii U has Internet access for this step to ensure the exploit can function.
컴퓨터에서 SD 카드를 꺼내서 Wii U 콘솔에 연결합니다.
인터넷 브라우저를 실행하고
wiiuexploit.xyz웹사이트로 이동합니다.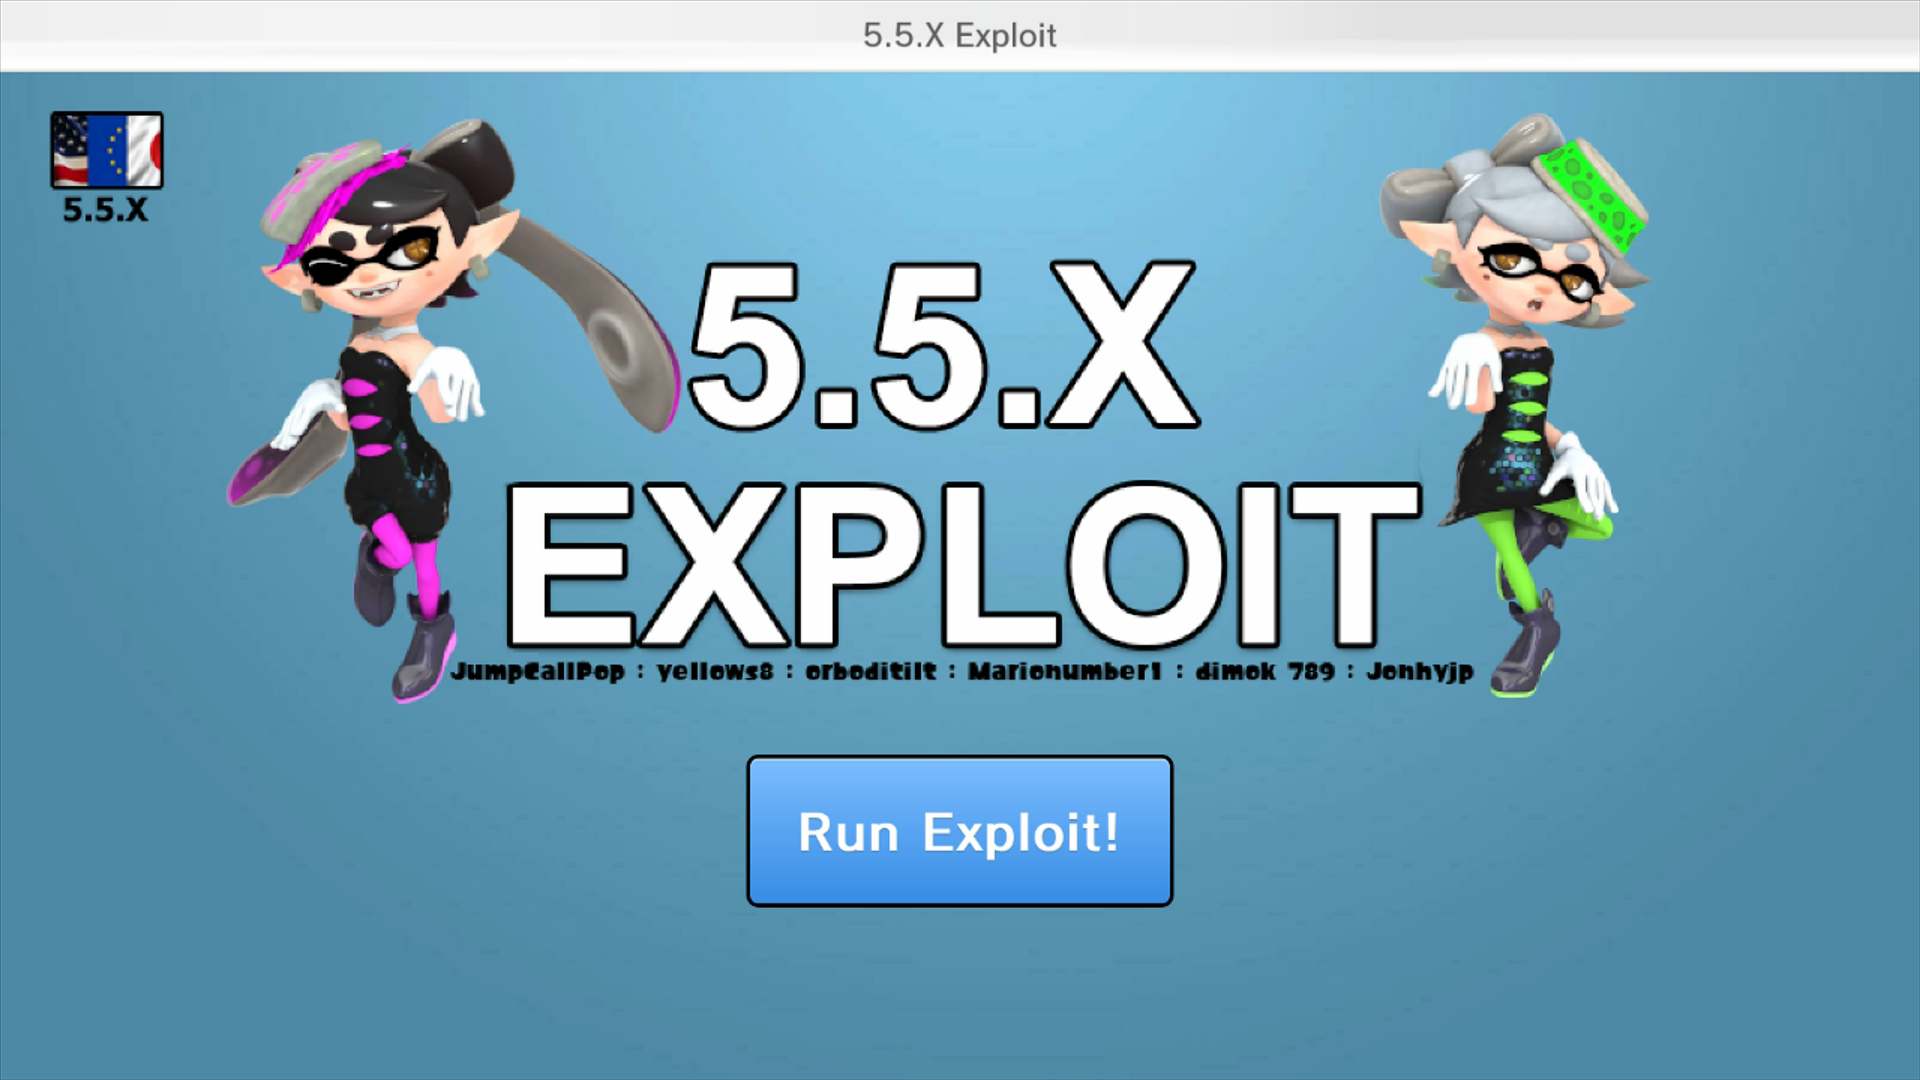
Run Exploit!을 클릭하고Please choose your payload:라는 화면이 나올 때까지 B 버튼을 누릅니다. 이는 다음 단계에 필요합니다.- Wii U의 화면이 흰색이나 멈춘 상태로 멈춘 경우, 몇 초간 기다려 봅니다. 아무 일도 일어나지 않으면 콘솔을 재부팅하고 브라우저 저장 데이터를 재설정한 다음 다시 시도합니다.
- If your console is loaded into the Aroma environment, it may also result in the above result. You can remove your SD card from your Wii U before booting, which will force the Wii U to boot without Aroma, and then re-insert the SD card and try again.
- EnvironmentLoader가 보인다면 B 버튼을 충분히 오랫동안 누르지 않은 것입니다. 다시 시도해 봅니다.
섹션 III - 낸드 백업
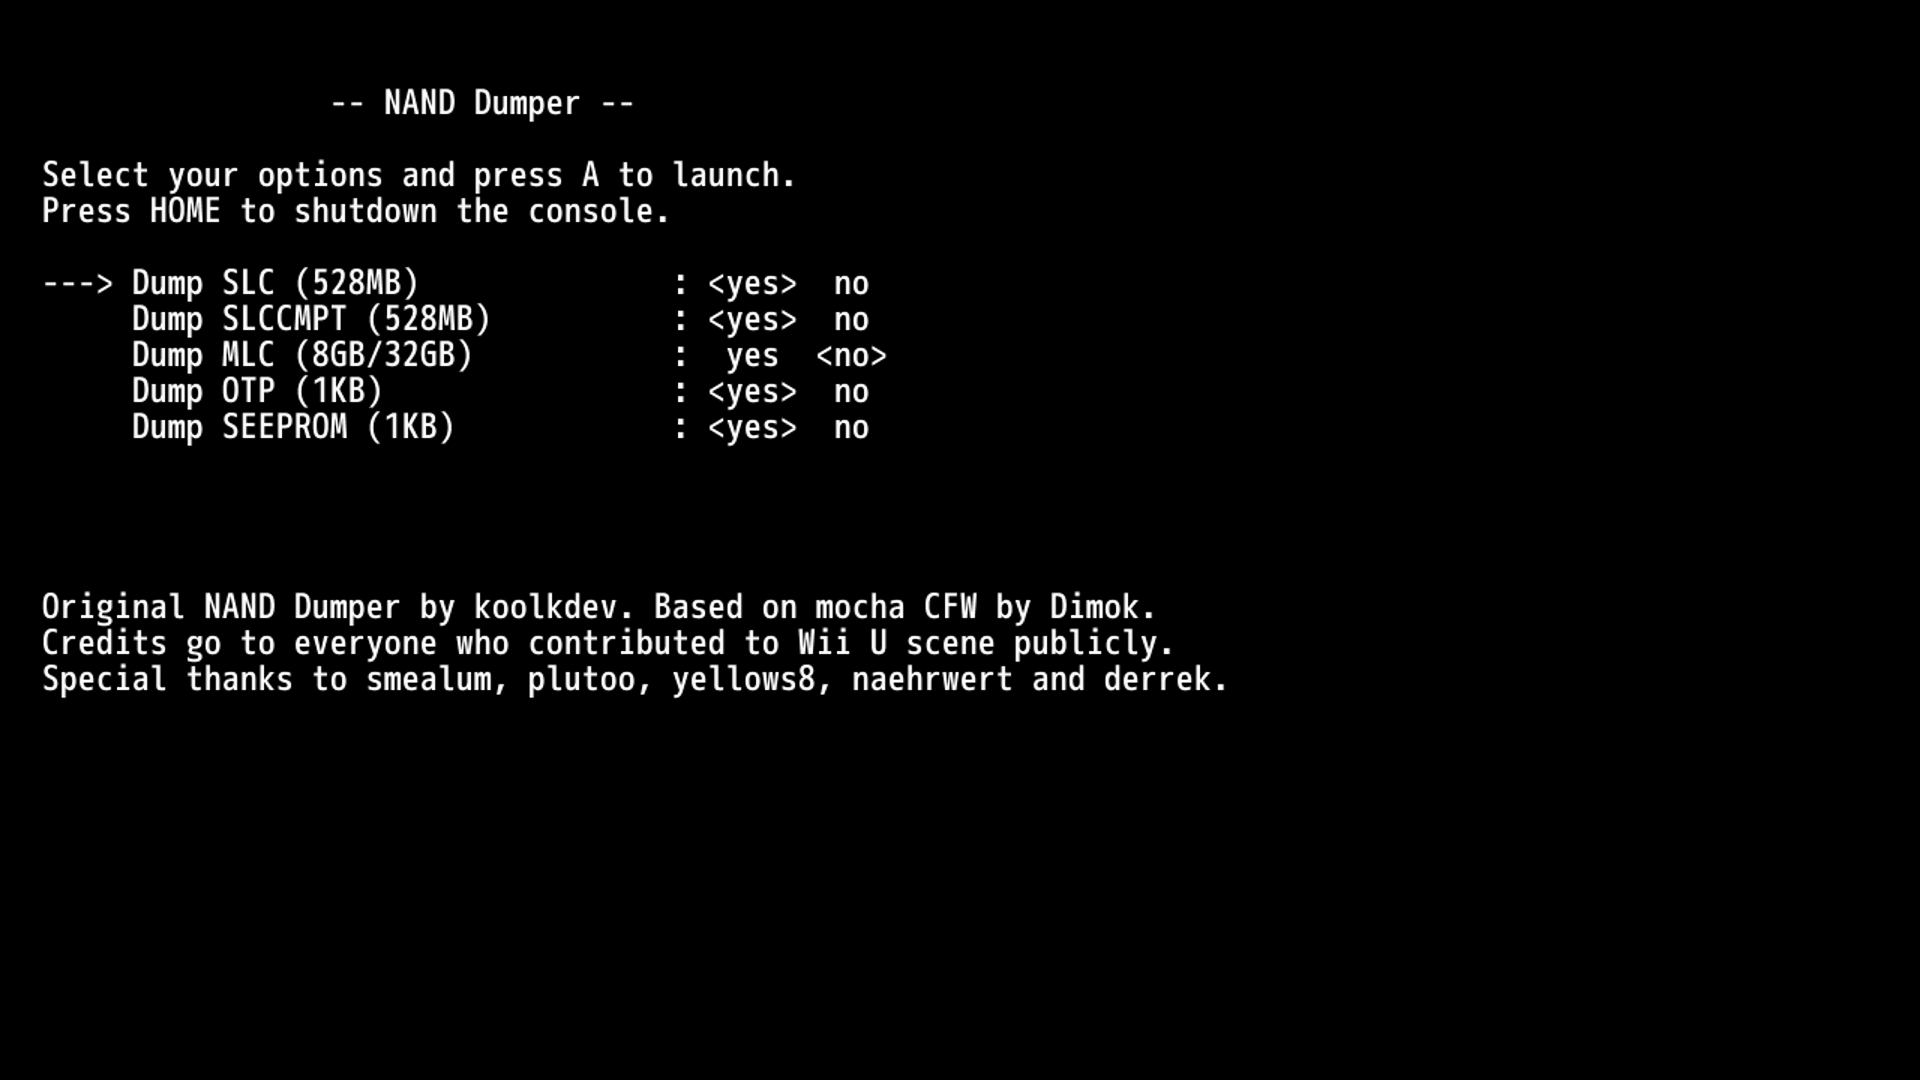
Wii U 게임패드의 십자 패드를 사용하여 다음 구성을 입력합니다.
- MLC is OPTIONAL, if you do not want to dump it, leave it on
no. If you do want to dump it, make sure you have a SD Card big enough for it (the dump will be 8GB or 32GB depending on your console) and toggle it toyes.
- MLC is OPTIONAL, if you do not want to dump it, leave it on
A 버튼을 눌러 덤프 과정을 시작합니다.
When the process is completed, power off your Wii U, eject your SD Card from your Wii U, and plug it into your PC.
To make sure you don't lose the files, copy the
slc.bin,slccmpt.bin,seeprom.bin,otp.bin(and if you chose to go with a full backup, everymlc.bin.partfile) to somewhere safe (Documents, Google Drive, OneDrive, etc.) on your computer.- They will appear on the root of the SD card.
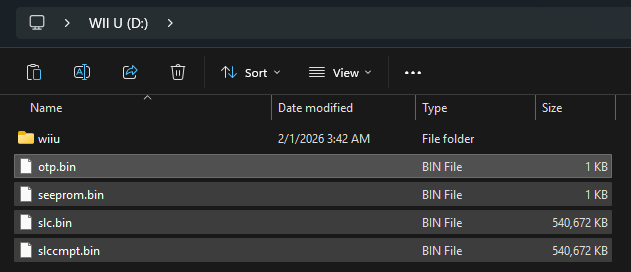
Delete the files from your SD card to free up space.
Take the SD card out of your computer and plug it into your Wii U console.
TIP
Continue to installing the Homebrew Channel
Now that you have a NAND backup saved, you can begin installing the Homebrew Channel onto the vWii Menu.