Homebrew Channel and BootMii Installation
Homebrew Channel and BootMii Installation for Wii
This guide instructs you on how to install the Homebrew Channel and BootMii. The Homebrew Channel is where you will go to launch homebrew applications, and BootMii allows you to create and restore backups of your Wii's NAND storage.
WARNING
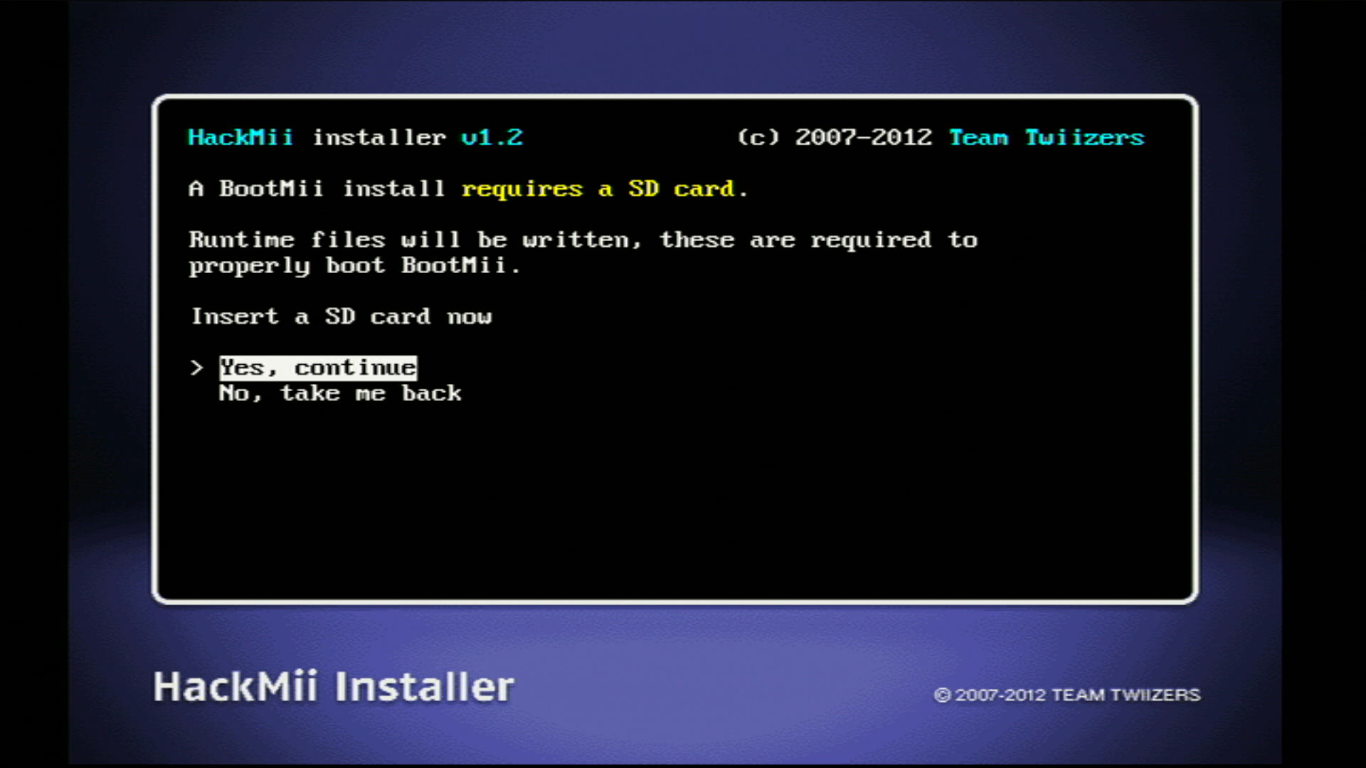
If you do not have an SD card, you cannot install nor use BootMii, regardless of whether you install it as IOS or boot2.
You can always install it later.
Disclaimer for BootMii with boot2
BootMii can be installed in two ways: via IOS, or directly to a part of the Wii bootloader called boot2. If possible, it is urged to install as boot2 as it provides extended brick protection and can be loaded prior to most major brick errors, but Wiis with a vulnerable boot1 that allows this installation are considerably rarer; all having been manufactured before 2009.
In most cases, you will not be able to install BootMii under boot2. Installing BootMii as IOS will usually be good enough, as long as you also install Priiloader. If you DO have the option to install as boot2, you should install both boot2 and IOS as instructed below so that you can launch BootMii in ways other than starting the console.
Please note that if you install Bootmii as boot2, your disc drive will flash very briefly after the immediate flash that happens when you press the POWER Button.
Instructions
Your console should be powered on and showing the HackMii Installer from the previous part of the guide.
- You will see a scam warning screen.
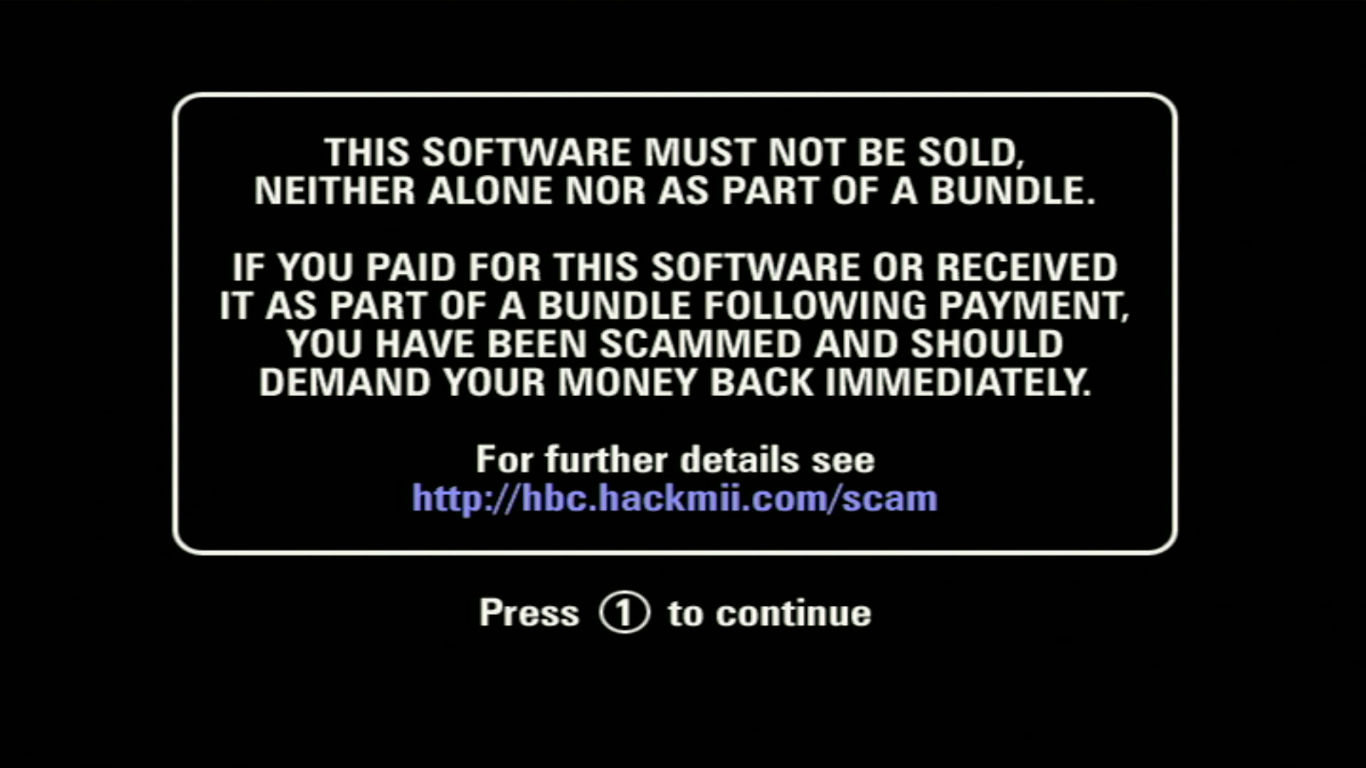
Wait 30 seconds for the text "Press 1 to continue" to appear, then press 1.
Select
Continue.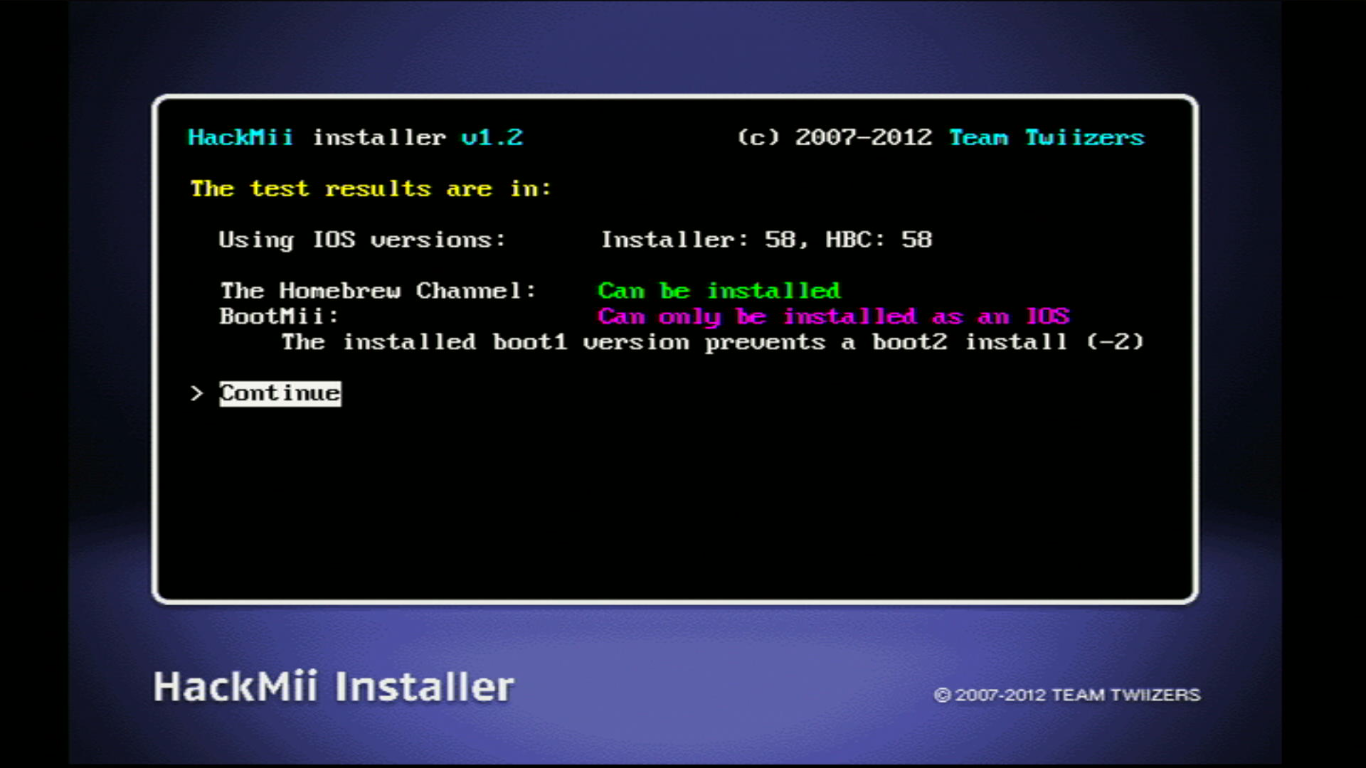
Select
Install the Homebrew Channel.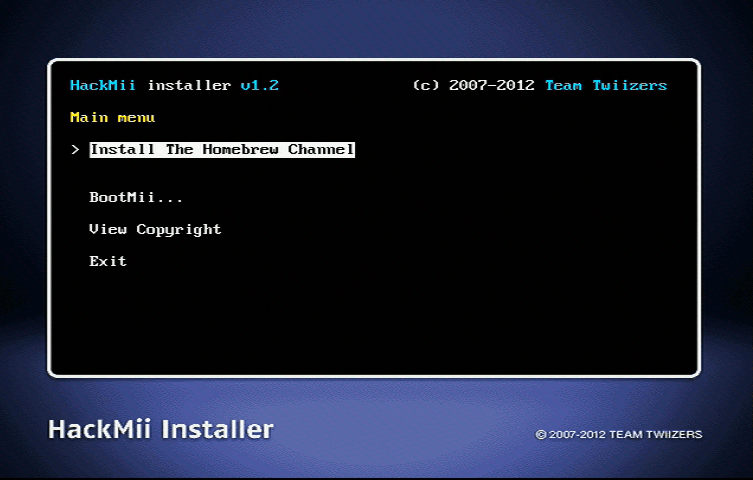
Once it is completed, select
Continue.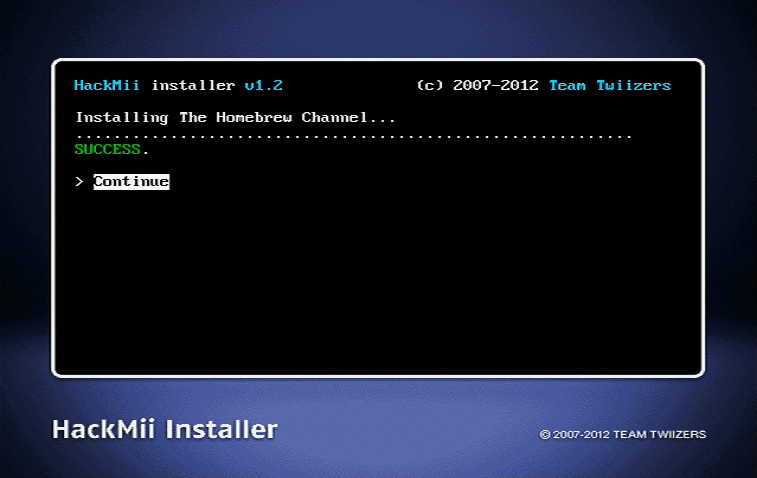
Select
BootMii....
Select
Install BootMii as IOS.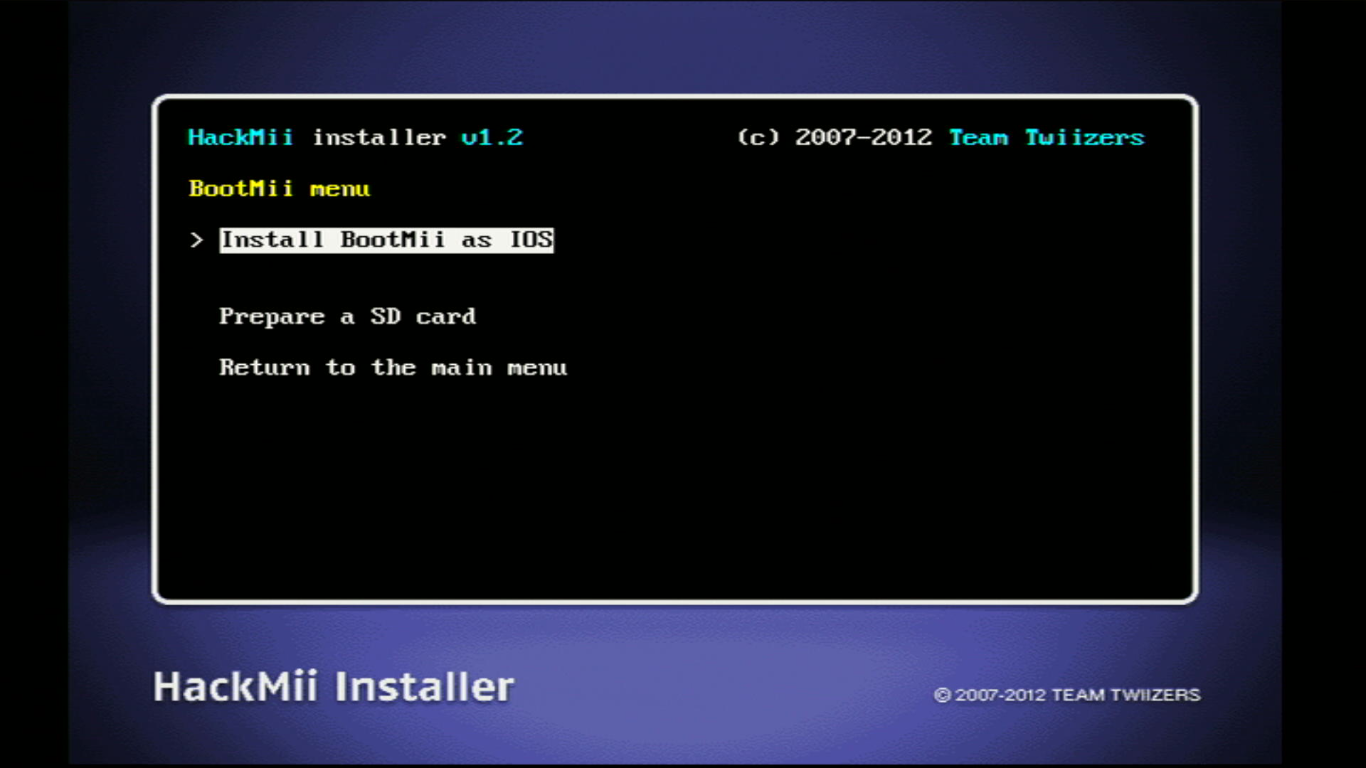
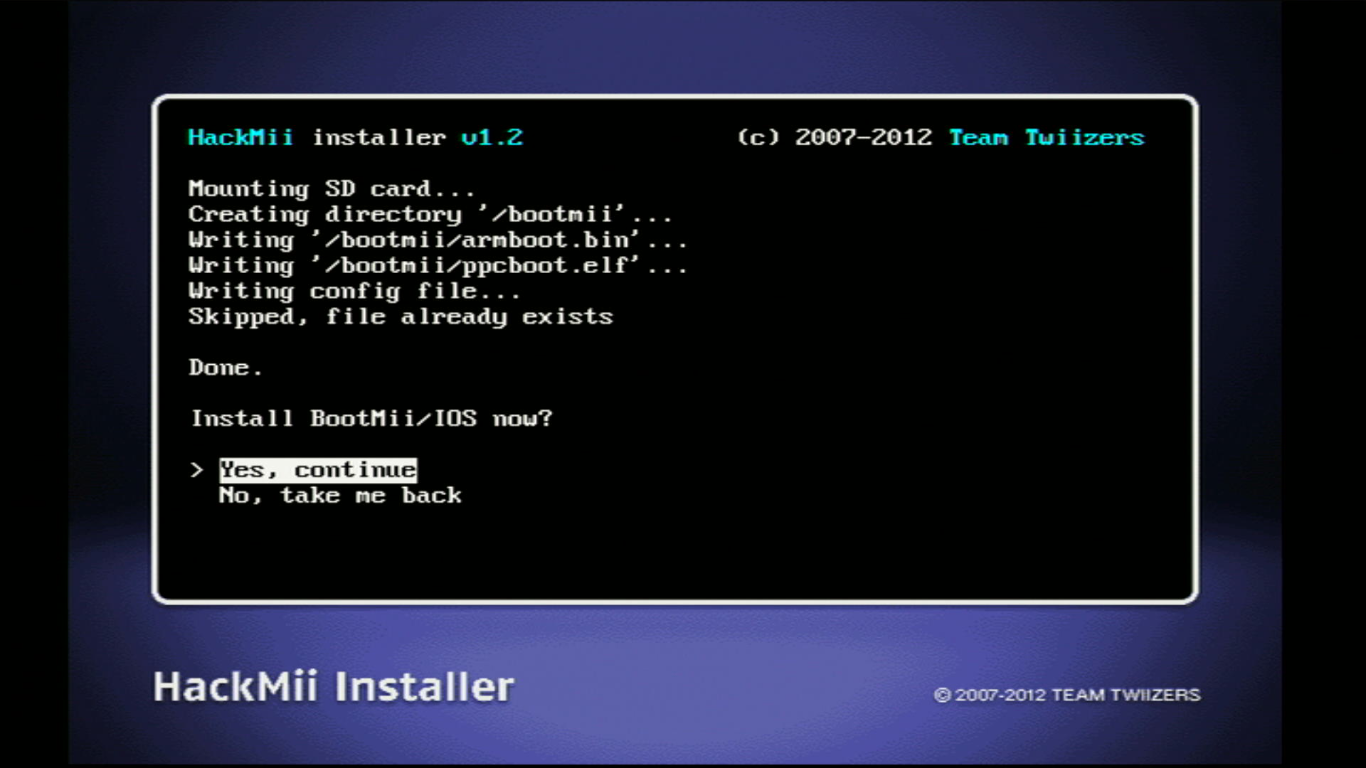
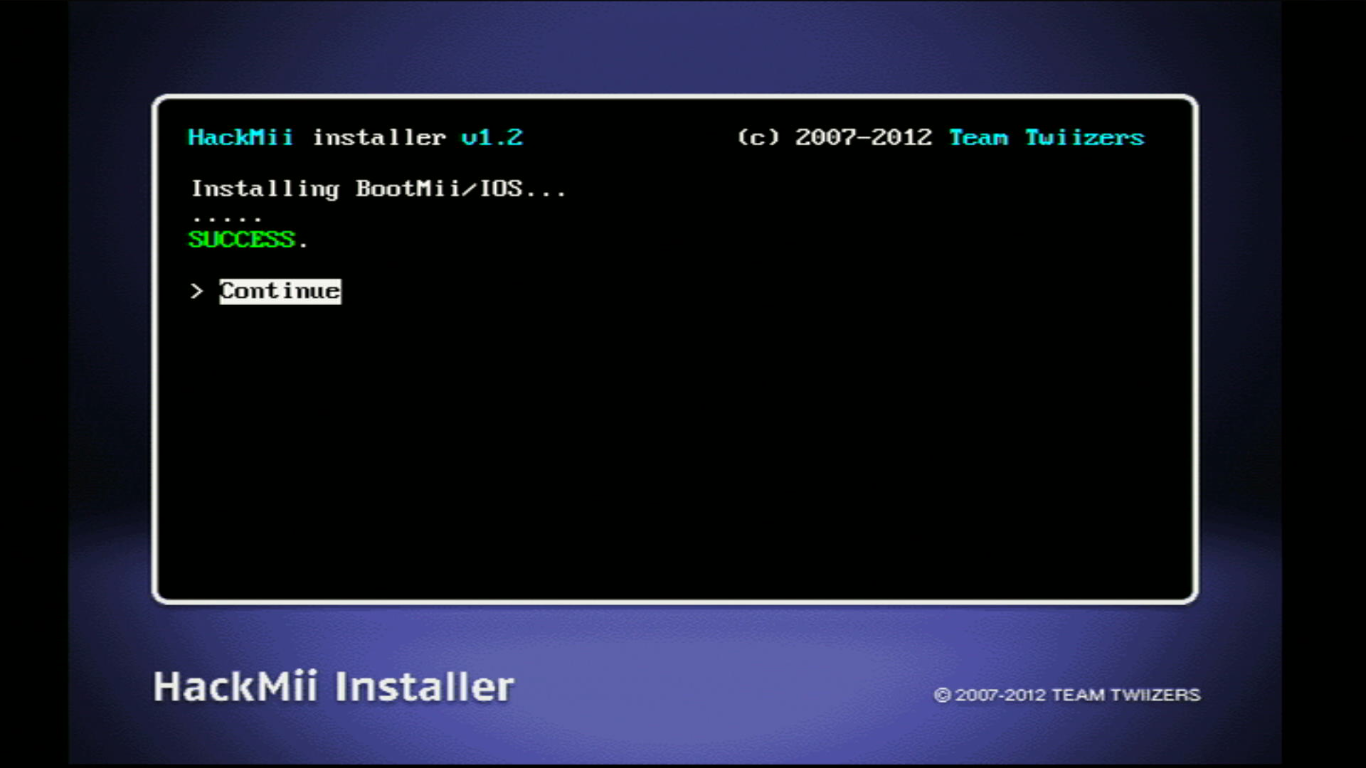
Once it is completed, select
Continue.If you have the option to
Install BootMii as boot2, please do so as well.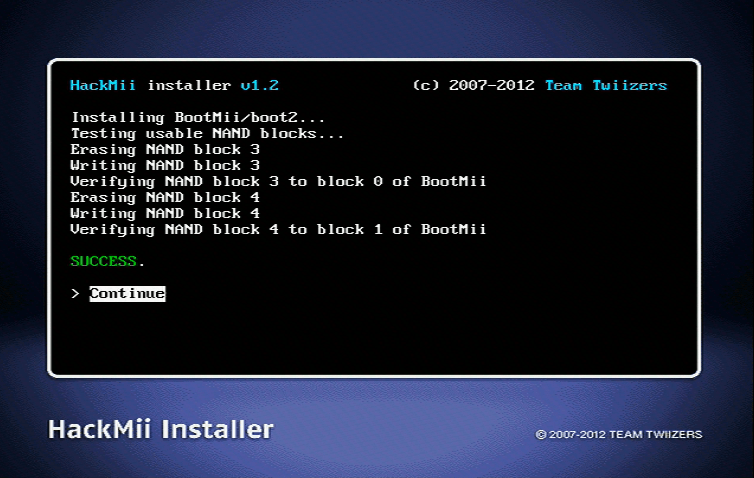
Select
Return to the main menu, then selectExit.Your console will have booted into the Homebrew Channel.

Post-Installation Info
You can now use the Homebrew Channel to launch homebrew apps, as well as BootMii for backing up and restoring your NAND if you were able to install it.
Note: When installing homebrew applications on your SD Card or USB drive, your folder structure should look like this:
💾 SD Card or USB Drive
| ╸📁 apps
    | ╸📁 AppName1
        | ╸📄 boot.dol
        | ╸📄 meta.xml
        | ╸📄 icon.png
    | ╸📁 AppName2
        | ╸📄 boot.dol
        | ╸📄 meta.xml
        | ╸📄 icon.png
AppName1 and AppName2 are placeholder names. Do not nest multiple apps folders inside the apps folder itself.
Autobooting
If you were able to install BootMii as boot2, but don't want to load the BootMii screen every time you turn on the Wii, you have the option of setting it to autoboot to the system menu. This will restore your console behavior to booting to the system menu instaed of to BootMii.
- Open
SD:/bootmii/bootmii.iniwith a text editor. - Change
#AUTOBOOT=SYSMENUtoAUTOBOOT=SYSMENUby deleting the#. - Then change
#BOOTDELAY=5toBOOTDELAY=1by deleting the#and turning the5into a1. - Save the file and exit.
INFO
You can also use the BootMii Config Editor app on the Wii to change these settings.
TIP
Continue to making a NAND Backup
Making a NAND backup at this point is highly recommended, as they can be used to recover from bricks.
Homebrew Channel Installation for Wii mini
This guide instructs you on how to install the Homebrew Channel, which is where you will go to launch homebrew applications.
WARNING
While it is possible to install BootMii on a Wii mini, you will need to solder an SD card slot. That requires opening up your Wii mini and using special tools, so it is not recommended.
Instructions
Your console should be powered on and showing the HackMii Installer from the previous part of the guide.
- You will see a scam warning screen.
Wait 30 seconds for the text "Press 1 to continue" to appear, then press 1.
Select
Continue.Select
Install the Homebrew Channel.Once it is completed, select
ContinueSelect
Exit.Your console will have booted into the Homebrew Channel.
Required Reading
You can now use the Homebrew Channel to launch homebrew apps.
Note: When installing homebrew applications on your USB drive, your folder structure should look like this:
💾 USB Drive
| ╸📁 apps
    | ╸📁 AppName1
        | ╸📄 boot.dol
        | ╸📄 meta.xml
        | ╸📄 icon.png
    | ╸📁 AppName2
        | ╸📄 boot.dol
        | ╸📄 meta.xml
        | ╸📄 icon.png
AppName1 and AppName2 are placeholder names. Do not nest multiple apps folders inside the apps folder itself.
TIP
Continue to making a NAND Backup
Making a NAND backup at this point is highly recommended, as they can be used to recover from bricks.